

Adding and Inviting Team Members
Follow this guide to add new staff in Univents, grant crew or admin access, and see how to handle a larger existing team – there is currently no Excel import for team members.
You add new staff in Univents directly in the Staff section, using a short form you can speed up with templates when adding several people in similar roles. This guide is for anyone maintaining their team, onboarding new hires, or granting access to management and the staff portal.
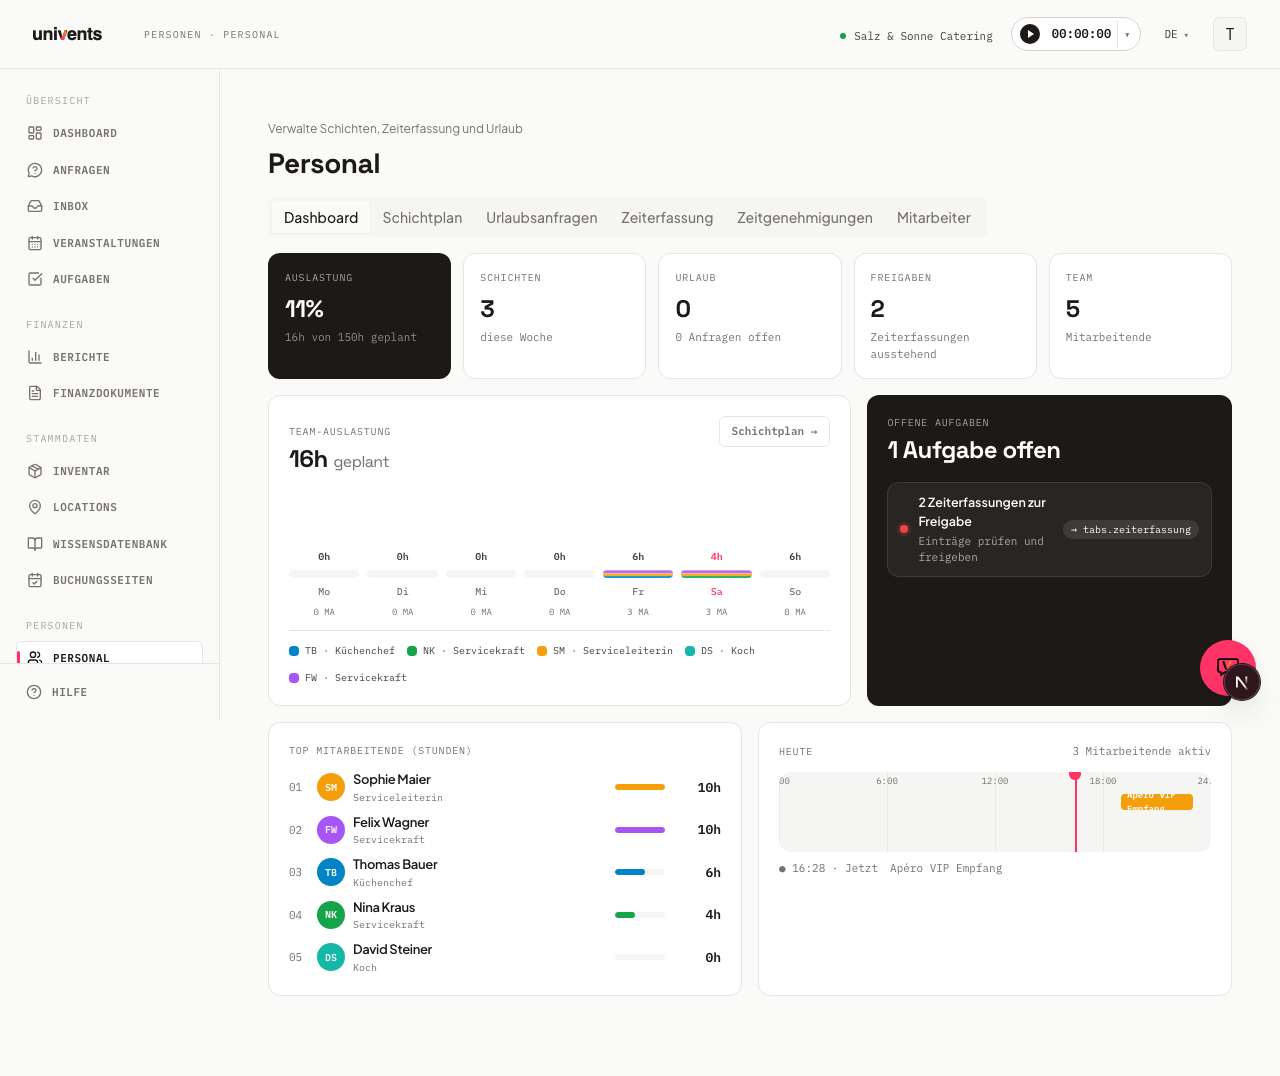
Opening the staff list
- Go to Staff in the left navigation.
- Click the Members tab.
- You'll see all active team members as cards, along with a KPI strip showing team size, admin seats, total contracted hours, and number of templates.
Adding a new team member
- Click Member in the top right (the button with the plus icon).
- The New member form opens.
- Fill in First name, Last name, and Email – all three are required. Phone is optional.
- In the Access section, pick one of the three levels: No access (preselected), Crew (own login for the staff portal) or Admin (admin area, uses an admin seat).
- Optionally enter Position, h / week, and Vacation days – these values feed into time balance tracking and leave planning.
- Optional: link a Payroll product from the inventory as the billing basis, and add Skills as tags.
- Click Create member.
The profile appears immediately as a card in the staff list and can be edited further by clicking on it.
Access to management and the staff portal
Access follows the level you pick in the Access section:
- No access means no login. The person still appears as usual in shifts, payroll and on kitchen sheets. On top of that you can send them a portal link (no sign-in) from their staff file – that shows their shifts, but no pay, leave, files or messages.
- Crew gets an invitation to the staff portal with a login of their own. Once accepted, the person signs in with their email address and a 6-digit code and sees their shifts, hours, their own pay, leave, files and messages. Crew is unlimited and free.
- Admin gets an invitation to the admin area. Under Permissions you pick a role that determines which modules the admin sees (create roles under Settings → Roles). If your plan has no free admin seat left, the monthly amount is already in the Admin seats line before you click – and you confirm it again explicitly when saving.
You can change an existing person's access at any time: open their staff file and click Change access in the Access section. To invite several people to the portal at once, use Invite to portal under Staff › Access – up to 50 per run.
Admin used to be called Manager, Crew used to be called Helper or Temp. Nothing changes about the rights; what is new is that Crew can have a login of their own.
Adding many people quickly – with templates
When you need to add several people with similar contract terms, a template is worth setting up. It automatically pre-fills position, weekly hours, hourly rate, vacation days, and skills when creating a new profile. A template does not set access – you pick that level deliberately per person, and a template never sends an invitation.
Creating a template:
- In the Members tab, click Templates (the button in the top right next to the plus button).
- In the Member templates dialog, click New template.
- Enter a descriptive name, e.g. Full-time service.
- Fill in the default values for Position, h / week, € / hour, and Vacation days.
- Click Create template.
Using a template when adding a member:
- Open the New member form via the Member button.
- In the Template section, select your template from the Apply template dropdown.
- The fields are filled in automatically – you only need to enter First name, Last name, Email and the Access level.
- Click Create member.
Fields at a glance
| Field | Required | Description |
|---|---|---|
| First name | Yes | First name of the team member |
| Last name | Yes | Last name of the team member |
| Yes | For the login on Crew and Admin, and for the portal link without sign-in | |
| Phone | No | Contact phone number |
| Access | No (default: No access) | No access, Crew or Admin |
| Position | No | Free text, e.g. Day-shift service |
| h / week | No | Contracted weekly hours for time balance tracking |
| Vacation days | No | Annual leave entitlement |
| Payroll product | No | Link to a payroll product from the inventory |
| Skills | No | Competencies as tags, e.g. Barista |
Migrating a larger team – contact the Univents team
Products, contacts, and events have their own Excel import wizard (see Importing Products, Contacts and Events via Excel). No such self-service import exists yet for team members.
To migrate an existing team from another system, send us a structured list via the Help button in the app or email support@univents.app – we'll run the import for you and follow up once done. Imported people always arrive on No access; you hand out the logins afterwards, one by one or in bulk via Invite to portal.
Frequently asked questions
Do I need an email address for every person? Yes, the email address is required when adding anyone. Without it you can neither grant a login (Crew or Admin) nor send a portal link.
Does every new person cost extra? Only admins. Crew is unlimited and included in your plan, and so is the portal link without sign-in. If your plan has no free admin seat left, Univents shows you the monthly extra cost before the invitation goes out, and you decide whether to continue.
I'm subscribing to a plan and already have more admins than it includes – what happens? The extra admin seats are added to the subscription right away. Before you pay, Univents shows how many seats your workspace occupies, how many the plan includes and what the extra ones cost; the amount then appears on the payment page. If you'd rather avoid it, move someone down to Crew via Change access first. Pending admin invitations count too; crew and people without access don't.
How do I schedule shifts for newly added staff? Once the profile is created, you can assign the person to a shift in the Staff scheduling board. No access level is needed for that.
What happens to shifts and time tracking when someone leaves? Archive the person via the detail view using Archive instead of deleting them – shifts and time logs are preserved. If they have a login, remove their access first via Change access; only then can the record be archived.
Tips
- Create templates first: Set up all your templates before you start adding profiles. This saves the most time for large teams.
- One email address per person: Every person needs their own email – if an address is shared across profiles, it blocks the invitation and the portal link.
- Pick the access level deliberately: Anyone who only works shifts needs Crew, and that costs nothing. Admin is for everyone who plans, invoices or writes quotes in the office.
- Add data later: Address, emergency contact, and other fields can be filled in later via the detail view – you don't need to complete everything when creating the profile.
- Staff portal: For how crew view and confirm their shifts in the portal, see Staff Portal: Shifts.