Actions in an automation (email, task, field, assignment)
Create, configure and reorder the actions of an automation rule.
An automation rule responds to a trigger and then runs one or more actions. In this article you'll learn which action types Univents offers, how to configure them, and how to set their order.
Where you define actions
Actions are part of an automation rule. You create them in the rule editor, which opens when you create a new rule.
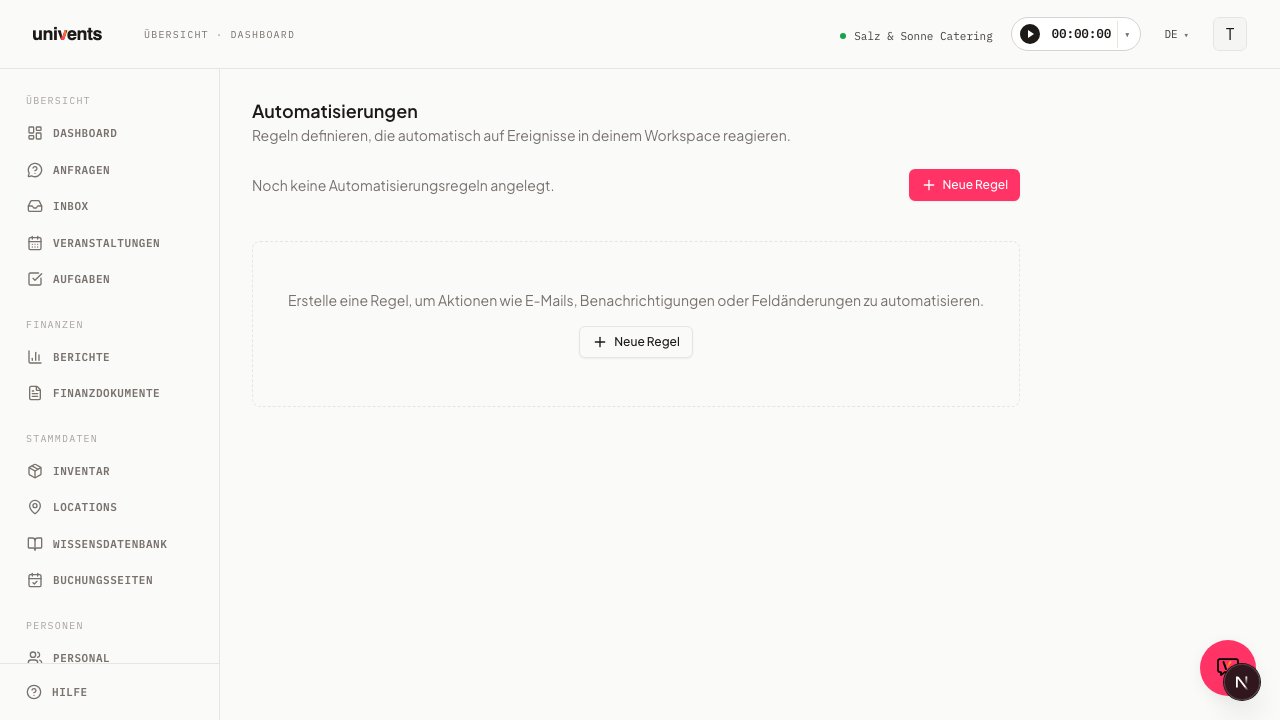
- In your workspace, open the Automations section.
- Click New rule. The New automation rule dialog opens.
- At the top, enter a Rule name, and below it, under Trigger, choose the event that should start the rule.
- Scroll to the Actions section.
In the Actions section you define what should happen once the trigger fires. Every rule needs at least one action before you can save it. Use the Save button at the bottom of the dialog to store the finished rule.
The nine action types
For each action you select exactly one type from the Action type dropdown. Nine types are available:
- Send email: Sends an email. You choose a Template from your email templates and can optionally set a custom Subject. Not available under the Email received trigger (loop protection, so an inbound email can't automatically trigger a new outbound email).
- Notify user: Notifies one or more people on your team. You choose the Users directly from a searchable list of workspace members.
- Set field: Changes a value on the triggering record (for example the event or the inquiry). You choose the Field from a fixed list (such as Internal note or Project planner) and enter the new Value.
- Assign staff: Assigns a person as the Assigned staff member. You pick them from the member list.
- Create task: Creates a task. You fill in Title, Task type (for example Checklist, Offer, or Delivery note) and optionally an Assigned user.
- Create function sheet: Automatically creates a function sheet for the linked event, using a default template. No further settings are needed.
- Delay: Pauses the rule for a set Duration (minutes, hours, or days) before the next action runs. The Re-check conditions on resume switch controls whether the rule's conditions are re-evaluated against the current state after the wait.
- AI classification: Has the AI fill in a Target field using Labels you define. Consumes your workspace's AI credits (see AI Credits & Usage).
- AI reply draft: Creates a reply draft for an inbound email — a human reviews and sends it, it is never sent automatically. Only available under the Email received trigger. Consumes AI credits (see AI Credits & Usage).
Depending on the type you choose, the editor automatically shows the matching input fields. At most one of the two AI actions is allowed per rule, and some types aren't offered at all depending on the trigger (see Send email and AI reply draft above).
Create and configure an action
Here's how to add an action to your rule:
- In the Actions section, click Add action for one of the eight regular action types — or Add delay if you want to build in a wait. A new action row appears.
- In the Action type dropdown, choose the type you want (for example Send email or Create task).
- Fill in the fields that appear, such as Template and Subject for an email.
- Repeat the steps for further actions.
Each rule allows at most three regular actions — every type except Delay counts toward this limit. Delays don't count against it, but a rule can have at most 7 action rows in total (regular actions and delays combined). Once a limit is reached, the editor hides the matching button (Add action or Add delay). To remove an action you no longer need, use the trash icon on the right edge of its row. The last remaining action cannot be deleted, because every rule needs at least one action.
Setting the order of actions
When a rule has multiple actions, they run from top to bottom. Use the arrows on the left of each action row to set the order:
- Click the Move up arrow to move an action one position forward.
- Click the Move down arrow to move it further back.
The top action runs first, the bottom one last. This is helpful, for example, when you want to Set field first and then Send email so that the email reflects the new value. For the first item the Move up arrow is disabled, and for the last item the Move down arrow is disabled.
Tips
- Under Rule name, give every rule a meaningful name such as "Confirm inquiry". That way you can tell at a glance what it does in the overview.
- For Notify user you can pick multiple recipients directly from the member list.
- After saving, you can expand the run history in the rule overview using the chevron on the right edge of a rule (tooltip Show history) and check how the rule has been running.
- A rule only takes effect once it's active. Use the switch on the right edge of the rule overview to set it to Active or Inactive.
Frequently asked questions
How many actions can a rule have? At least one and at most three regular actions. You can also add any number of delays in between — a rule can have at most 7 action rows in total. Once a limit is reached, the matching button disappears.
Can I change the type of an existing action? Yes. Just choose a different type in the dropdown of the action row. The input fields automatically adapt to the new type.
Why can't I save my rule? Every rule needs a Trigger and at least one action. If a required entry is missing, a notice appears above the buttons and the rule is not saved.