

Automations: Basics & your first rule
After this article you'll understand how triggers, conditions, and actions work together, and you'll have created your first automation rule.
Automations take repetitive busywork off your plate: as soon as something happens in your workspace, Univents reacts automatically and runs the steps you set up once. This article walks you through how a rule is built and how to create your first one.
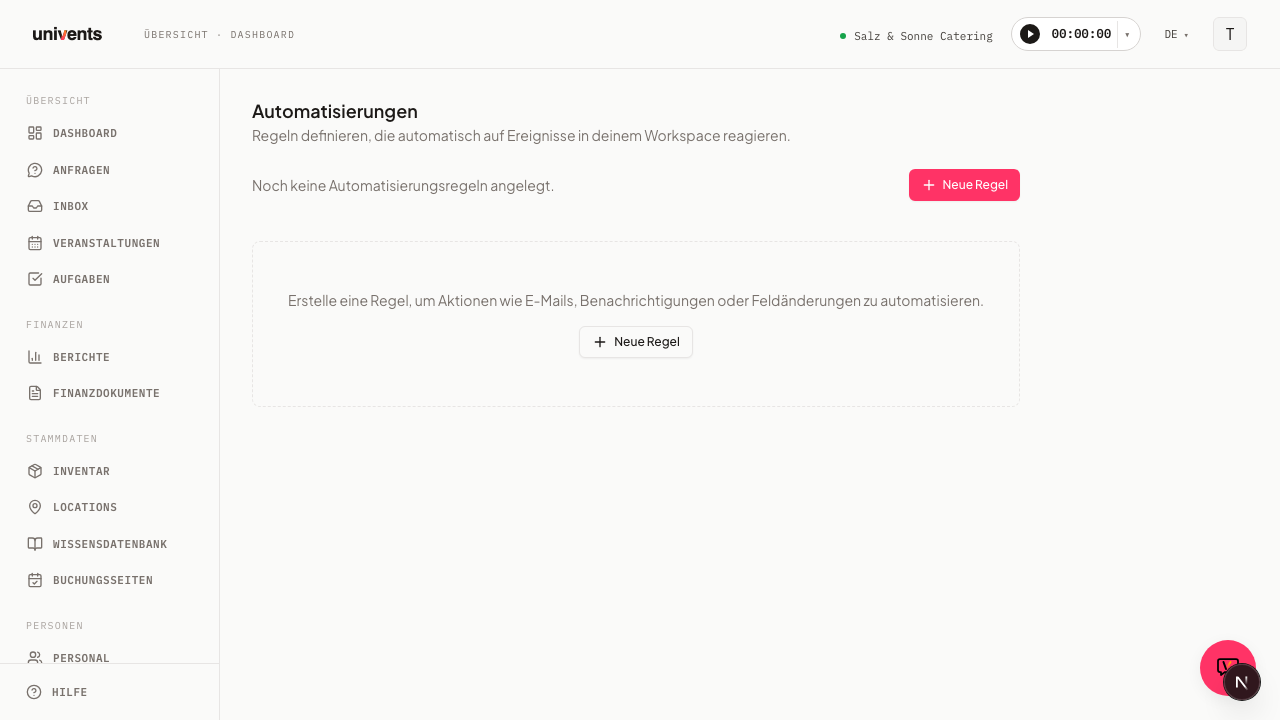
The video shows how to build an automation from a trigger, conditions, delays and actions — or have AI create it from a description.
You’ll find the individual steps written out below as well.
What an automation rule is
A rule is an instruction that follows the pattern "When something happens, then do something." It always consists of three building blocks: a Trigger, optional Conditions, and one or more Actions. You manage your rules on the Automations page. You find it in the sidebar: in the Admin section, directly below Integrations. A short description at the top of the page explains what it's about: define rules that automatically react to events in your workspace.
Every rule has a name and a status. Active rules carry the Active badge, paused ones the Inactive badge. Using the switch on the right side of the row, you can turn a rule on or off at any time without deleting it. Some rules are predefined by the system and marked as Locked. You can neither change nor delete these; they run quietly in the background.
Triggers, conditions, and actions
The three building blocks build on one another. Here's how they work together:
- Trigger: the event that starts the rule, for example a newly received inquiry. For each rule you pick exactly one trigger from the list.
- Conditions: optional filters that determine in which cases the rule actually applies. A condition consists of a Field, an Operator (such as equals, greater than, or contains), and a Value. You can combine several conditions.
- Actions: what Univents runs when the trigger fires and all conditions are met. At least one action is required; multiple are possible and are processed in the order you set.
Without conditions, the action runs on every trigger. With conditions, you narrow it down to exactly the cases you care about.
Instead of a single chain of actions, a rule can also have several paths that react differently depending on a condition (branching) — see Branching, Testing a Rule & AI Rule Draft for more.
Which actions are available
When you add an action, you first choose its type. Univents offers 15 action types — from Send email and Notify user through Set field, Change tags and Change status to the creator actions (Create task, Create function sheet, Create production list, Create quote from template, Create schedule from template), Run tool, and the two AI actions. The full list with every field is in Actions in an automation.
You can combine up to three regular actions per path of a rule — an unbranched rule has exactly one path. Using the Move up and Move down arrows on each action, you set the order in which they run.
Starting from a template
You don't have to start from scratch. Univents ships six ready-made templates covering the most common cases:
- Acknowledge new enquiries — the customer gets an immediate confirmation, you get a notification with guest count and date.
- Tell the kitchen when an invoice is paid — as soon as the money is in, production knows.
- Create tasks when a quote is accepted — prep list and staffing land on the task list automatically.
- Follow up when a quote expires — an expired quote creates a follow-up task.
- Tell the team when an event is cancelled — the cancellation reaches you right away, with the date.
- Create the function sheet before the event — 14 days before the start, Univents creates the function sheet and notifies you. Change the number of days after installing, in the Days before event start field.
If at least one of your booking pages already replies to new enquiries automatically, the gallery shows an extra note on Acknowledge new enquiries: both would send the same confirmation. Univents now prevents the second one: if the booking page's acknowledgement already went to that address in the last 30 minutes, the rule skips its email and the run history says why. The template is still useful for enquiries by email, from the CRM, or via the AI assistant.
While you have no rules yet, the templates sit directly on the Automations page. Once you have rules, you open them via the Templates button at the top right.
Each card states in one sentence what the template does ("When Invoice paid, then Notify user."). Clicking Install creates the rule — it starts switched off so you can review it first. View rule in the confirmation message takes you straight to the editor.
Two things are worth adjusting afterwards: under Notify user, the template lists only you as the recipient — add your colleagues here. And for Send email, check that the chosen template matches your wording. Only then set the switch in the rule's row to Active.
Creating your first rule yourself
To start without a template, you build the rule in the canvas:
- Open the Automations page and click New rule at the top right. The canvas opens.
- Under Rule name, enter a descriptive name, for example "Confirm inquiry".
- Click the Trigger node and choose the event the rule should react to in the configuration panel on the right.
- If needed, add filters via Add condition and fill in Field, Operator, and Value. You can skip this step if the rule should always apply.
- Choose an action type for each action node and fill in its fields. Use Add action to add more steps.
- Click Save. The new rule appears in the list right away and is active.
As long as required fields are missing, the form points this out before saving.
Viewing and editing a rule in the canvas
The canvas is a rule's main view. It shows the trigger, filter, and actions as connected boxes stacked vertically — handy for seeing at a glance how a rule with several actions is put together.
- Create a new rule in the canvas: On the Automations page, click New rule at the top right.
- Open an existing rule in the canvas: In the rule's row, click the icon on the far right with the tooltip Open in canvas. This works for every rule, including locked or system-managed ones — there, the canvas opens read-only for viewing, not editing.
- Edit an existing rule in the form: For rules without branching there is also the form dialog. You open it via the pencil icon in the rule's row.
In the canvas, your rule's building blocks appear as a fixed chain from top to bottom: first the Trigger node, then — if present — a Filter node showing your number of conditions, then one node per action. The order is fixed; you can't freely rearrange the nodes on the canvas.
- Click a node to select it. A configuration panel opens on the right with the same fields as the form dialog.
- Fill in the fields, for example the trigger, a condition, or an action's details.
- Use Add action and Add delay in the toolbar at the top to add more nodes — with the same limits as the dialog (at most three regular actions, seven action rows in total).
- Click Save to apply your changes, or Discard to drop them.
The dialog and the canvas save the same rule with the same data. You can create a rule in the dialog and keep editing it in the canvas later, or the other way around.
The Rule name is required. If a rule cannot be saved, the message tells you what is still missing — for example Give the rule a name at the top left. — and marks the spot in question.
Branching, testing, and drafting with AI
For rules with several possible paths, a test run before you switch a rule on, and a draft from a single sentence, the canvas offers dedicated tools: branching (several paths instead of one straight chain), the Test rule button (shows what would happen without running anything), and Describe it instead (AI builds a rule draft from one sentence). Details are in Branching, Testing a Rule & AI Rule Draft. These three tools, along with some of the action types, are part of the Growth plan — simple single-path rules remain available on every plan, and every rule that already exists keeps running unchanged.
History and management
Every run of a rule is logged. In a rule's row, click Show history to expand the Run history. There you'll see the status of each run, such as Completed, Skipped, Failed, or Review required, along with the timestamp and, where applicable, an error message. Use Hide history to collapse the list again.
To pause a rule, flip the switch in its row to Inactive. If you no longer need a rule, remove it via the delete icon; you'll have to confirm the deletion. Locked system rules have neither a switch nor a delete icon, because they're managed centrally.
Tips
- Start with a simple rule without conditions and watch the Run history to see whether it applies as expected. Only then refine it with conditions.
- Give rules meaningful names. The list only shows the name and a sentence summarising the rule ("When Quote accepted, then 2x Create task and Notify user."), so "Confirm inquiry" helps more than "Rule 1".
- Keep rules small. Instead of one rule with three very different actions, several clearly named rules are usually easier to follow.
- A rule you're currently testing can be set to Inactive via the switch at any time without losing it.