Configuring a rule's triggers & conditions
Pick a trigger from the catalog for an automation rule and add conditions so the rule only fires in the cases that match.
An automation rule is built from two parts that you set in the rule editor: the Trigger that kicks the rule off, and optional Conditions that narrow down when the rule's actions actually run. That way a rule only fires when the right case occurs.
Open the rule editor
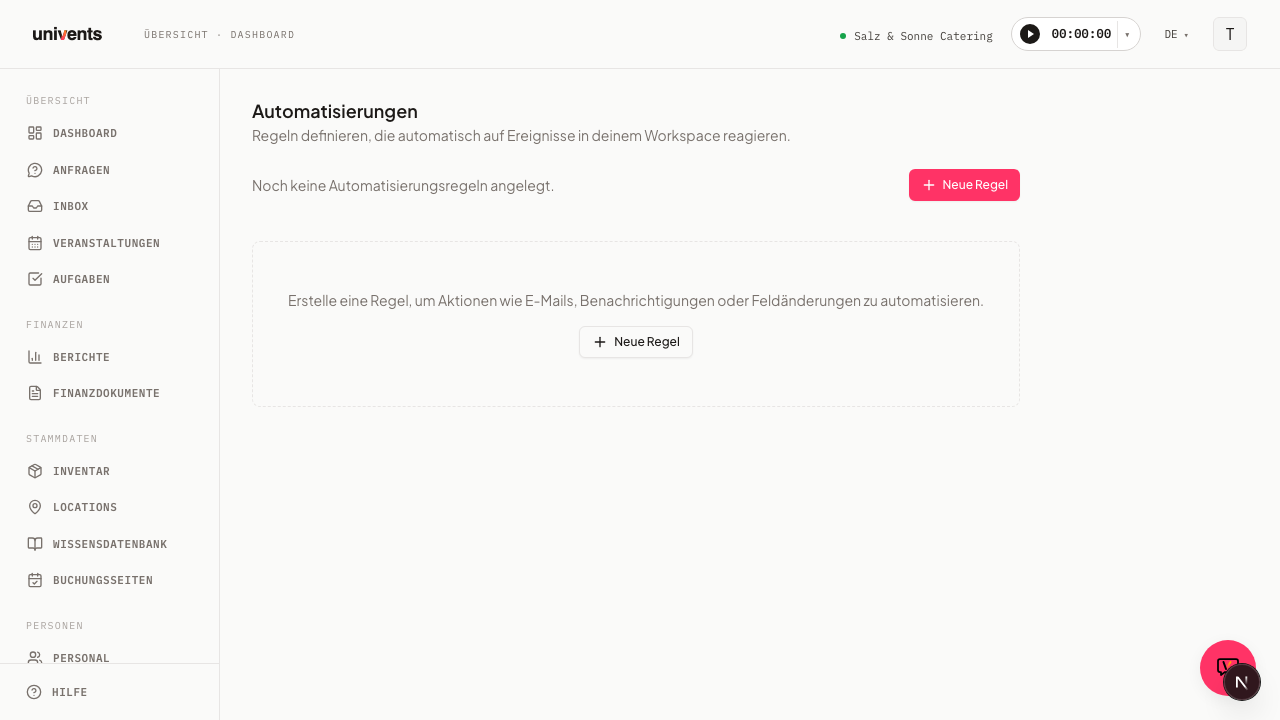
Automations isn't linked in the sidebar yet. You reach the page through your browser's address bar: append /automations to your workspace address — .../home/your-workspace/ becomes .../home/your-workspace/automations. The Automations page shows the description "Define rules that automatically react to events in your workspace." at the top. Below it you'll find your existing rules or, while none have been created yet, a note with a create button.
- Open
/automationsin the address bar as described above. - Click New Rule at the top right. If you don't have any rules yet, you can also use the button in the empty area.
- The New Automation Rule window opens.
- In the Rule name field, give it a meaningful name, for example "Confirm inquiry". This is how you'll recognize the rule later in the list.
The name has no effect on the rule's behavior; it's only there to help you identify it. Choose one so colleagues can immediately understand what the rule does too.
Choose a trigger from the catalog
The trigger determines which event in your workspace kicks the rule off in the first place. Right below the rule name you'll find the Trigger field.
- Click the select field with the placeholder Choose a trigger ….
- The catalog of available triggers opens. Univents provides a fixed set built around typical events: those involving inquiries and events, as well as those involving invoices and payments.
- Click the matching trigger to apply it.
You choose exactly one trigger per rule. Each trigger is tied to a specific area, such as an inquiry, an event, or an invoice. Which data you can then check in the conditions depends on this chosen area.
Univents offers you exactly these seven triggers:
| Trigger | Fires when … |
|---|---|
| Event confirmed | an event switches to the "Confirmed" status. |
| Quote accepted | a customer accepts your quote for an inquiry. |
| New inquiry | a new inquiry comes in to your workspace. |
| Payment received | a payment comes in for an order. |
| Invoice overdue | an invoice passes its due date without being paid. |
| Days before event start | the number of days you've set before an event's start is reached. To set that, add the Days before field to the conditions with the number you want — without this condition, the rule doesn't know how many days ahead to fire. |
| Email received | an email arrives in one of your connected inboxes. |
Add conditions
Conditions are optional. Without a condition, the rule runs on every matching event. With conditions, it only runs when all checked values apply.
- In the Conditions section, click Add condition.
- A row appears with three inputs: a field, an operator, and a value.
- On the left, in the field with the placeholder Field name, enter which data field should be checked.
- In the middle, choose the Operator. The options are equals, not equals, greater than, greater or equal, less than, less or equal, and contains.
- On the right, enter the Value to compare against.
Use Add condition to add more rows. All conditions must apply together for the rule to fire. You remove a single row using the trash icon at the end of the row.
Which fields you can check per trigger
The Field name dropdown only shows the fields that match the chosen trigger — depending on whether the rule is about an event, an inquiry, an order, a finance document, or an email. If you change the trigger afterwards, Univents automatically removes any already-entered conditions that no longer exist on the new trigger, and tells you how many conditions were reset.
The tables below show, per trigger group, which fields are available, what type they are, and — for selection fields — which values you can enter.
Event confirmed & Days before event start
| Field | Type | Possible values |
|---|---|---|
| Event name | Text | — |
| Guest count | Number | — |
| Budget | Number | — |
| Start date | Date | — |
| Date confirmed | Yes/No | — |
| Event status | Selection | Requested, Draft, Live, Publicly live, Archived, Declined, Confirmed, Option, Cancelled, Invoiced, Completed |
| Language | Selection | German, English |
Under the Days before event start trigger, you also get the Days before field (Number) in addition to the event fields — enter the number you want with the equals operator so the rule fires exactly that many days before the start.
New inquiry & Quote accepted
| Field | Type | Possible values |
|---|---|---|
| Guest count | Number | — |
| Estimated value | Number | — |
| Event date | Date | — |
| Event type | Text | — |
| Date flexible | Yes/No | — |
| Inquiry status | Selection | Open, In progress, Accepted, Rejected |
Payment received
| Field | Type | Possible values |
|---|---|---|
| Gross total | Number | — |
| Currency | Text | — |
| Payment method | Text | — |
| Order status | Selection | Draft, Basket, Reserved, Open, Paid, Repaid, Cancelled, Expired |
Invoice overdue
| Field | Type | Possible values |
|---|---|---|
| Gross total | Number | — |
| Net total | Number | — |
| Deposit amount | Number | — |
| Due date | Date | — |
| Document type | Selection | Quote, Invoice, Delivery note, Credit note |
| Invoice status | Selection | Draft, Issued, Sent, Paid, Cancelled, Overdue |
Email received
| Field | Type | Possible values |
|---|---|---|
| Sender email | Text | — |
| Subject | Text | — |
| Has attachments | Yes/No | — |
| From a known contact | Yes/No | — |
For text and selection fields, you can use contains in addition to equals and not equals to check several possible values at once. For number and date fields you also get greater than, greater or equal, less than, and less or equal. For Yes/No fields, only equals and not equals are available.
Save and check
Once the trigger and conditions are set, you save the rule.
- At least one action is required. Create it in the Actions section before you save.
- Click Save at the bottom. While the operation runs, the button shows Saving ….
- After saving, the rule appears in the list, set to Active by default.
If a required entry is missing, such as the trigger or an action, the rule won't be saved and you'll be pointed to the missing value. Using the toggle in the rule list, you can switch a saved rule to Inactive at any time without deleting it.
Frequently asked questions
I can't find Automations in the menu — where's the page? Automations isn't linked in the sidebar right now. Open it directly through the address bar by appending /automations to your workspace address. See Automations: Basics & your first rule for more.
Do I have to set conditions? No. Conditions are optional. Without a condition, the rule reacts to every event that matches the chosen trigger. With conditions, you narrow it down specifically.
Can a rule have multiple triggers? No. There's exactly one trigger per rule. If you need multiple events, you create multiple rules.
What does the contains operator mean? With contains, you check whether the value appears in a list, rather than testing for exact equality. For an exact comparison, use equals.
Why can't a rule be changed? If a rule carries the Locked marking, it's a system default and can be neither toggled nor deleted.