Members, Roles & Permissions
After reading this article you'll be able to invite team members, assign roles to them, and control module-level permissions through the role matrix.
In Univents you use roles to control who can access which modules. You can create as many custom roles as you like and, for each role, decide per module whether it can view, create, edit, or delete — from "no access" to "full access".
Inviting team members
Only users with the permission to manage invitations can invite new members.
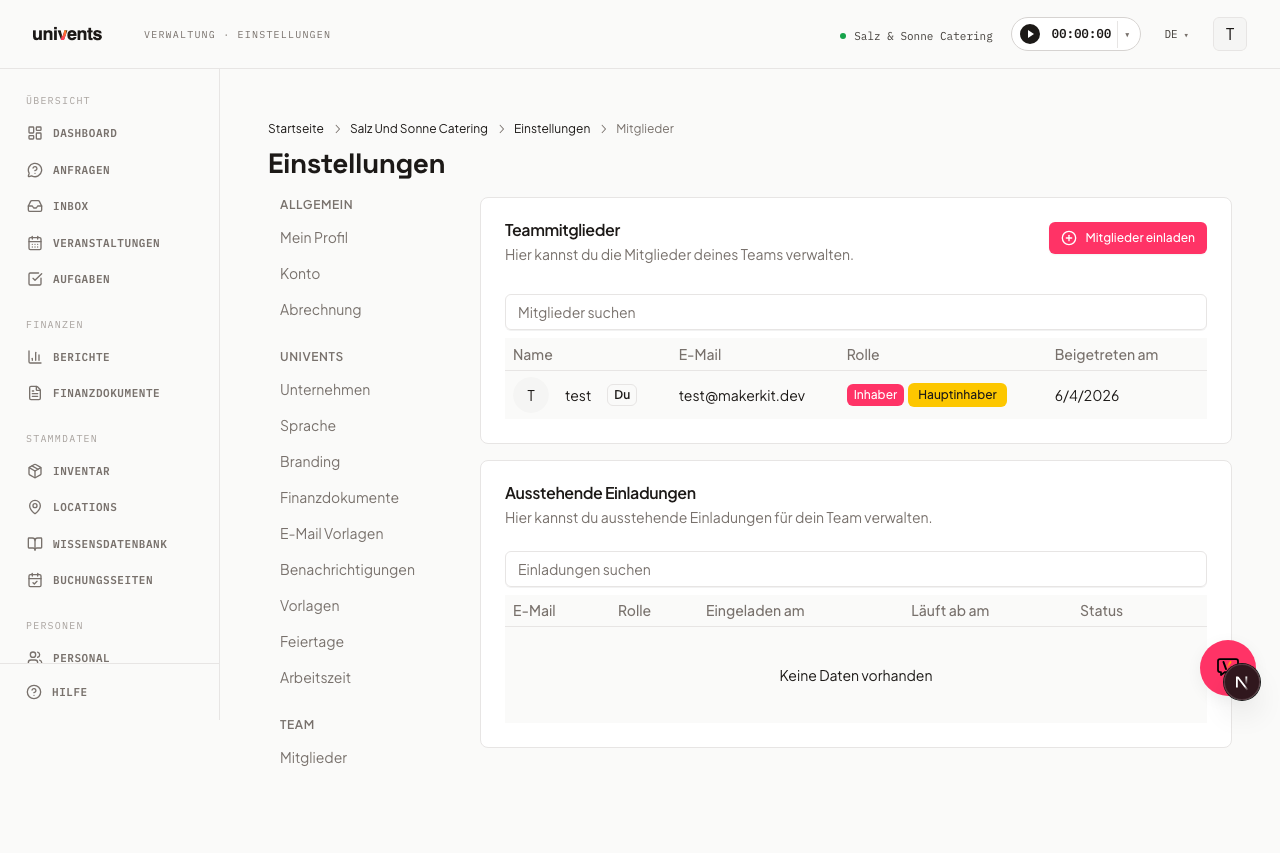
- Open Settings in the left navigation menu.
- Under the Team section, click Members.
- The Invite members button appears in the top right — click it.
- Enter the email address of the new member and select a role from the dropdown list.
- Click Add another to invite multiple people at once.
- Finally, click Send invitations.
The invited member will receive an email and can accept the invitation via the link inside it. As long as the invitation has not yet been accepted, it appears under Pending invitations — where you can manage it using the Delete invitation and Renew invitation actions.
Changing a person's role or removing them
- Navigate to Settings > Members.
- Find the person in the table. The three-dot menu in their row offers two actions: Change role and Remove from account.
- Select Change role, choose a different role, and save with Save role.
- Select Remove from account to exclude the person from your team. The user loses access immediately.
The primary owner of an account can only be changed by that owner themselves via Transfer ownership.
Creating custom roles
Univents ships with system-level default roles. In addition, you can define your own roles with granular module permissions.
- Navigate to Settings and open the Roles page (URL:
/settings/rollen). - Click Create role.
- Enter a Name (e.g. "Service Lead") and optionally a short Description.
- Click Create — the role appears immediately in the role matrix.
Creating a role from a template
Instead of starting from scratch, click the Template button next to Create role in the top right. The Create role from template menu offers five ready-made role templates with a pre-filled permission matrix:
| Template | Permissions |
|---|---|
| Administrator | Full access to all areas |
| Event manager | Events + inquiries full, inventory write, rest read |
| Accounting | Finance full, events + inquiries read |
| Service lead | Events + staff write, inquiries + inventory read |
| Helper (read-only) | Dashboard + events read only |
Clicking a template immediately creates a new role with that matrix — you can then fine-tune it like any other role in the role matrix, or rename it under Edit role.
Assigning permissions in the role matrix
Click a role in the list to expand it. You'll see a table with all modules as rows and four actions as columns: View, Create, Edit, Delete. Click a checkbox to turn that action on or off for that module.
Turning on Create, Edit, or Delete automatically turns on View as well — there's no write access without read access. If all four checkboxes are off for a module, that module is completely hidden for members with this role, and it disappears from their left navigation.
The role matrix covers nine modules:
| Module in the role matrix | Controls access to |
|---|---|
| Dashboard | Dashboard |
| Inquiries | Inquiries, Inbox |
| Events | Events, Tasks |
| Inventory | Inventory |
| Locations | Locations |
| Finance | Reports, Finance Documents |
| Contracts | Contract actions within an event |
| Staff | Staff |
| Settings | Settings, Integrations, Billing |
Knowledge Base, Booking Pages, Contacts, Team Activity, and Roadmap currently don't have their own access level in the role matrix — they're visible to every member with account access, regardless of the role assigned to them.
You can also set which events a role sees at all: under Event visibility (tags) in the expanded section, select one or more event tags. Without a selection, the role sees all events. Every change is saved immediately.
Editing or deleting roles
- Edit: Click the Edit role button in the role's row. A dialog opens where you can adjust the Name and Description. Click Save.
- Delete: Click the trash icon at the end of the row. A confirmation prompt appears — confirm with Delete. A role can only be deleted if it is no longer assigned to any member.
Frequently asked questions
Can I customise a default role? No. The system-level default roles are fixed and cannot be edited. Create a custom role if you need a different permission profile.
What happens to members when I change a role? Permission changes to a role take effect immediately for all members who have that role assigned.
How many roles can I create? There is no set limit. Even so, keep the number manageable — too many similar roles make administration confusing.
I can't see the "Invite members" button. You need the permission to manage invitations. Ask the account owner to grant you this permission or to invite you directly.