Embed Your Booking Page in Your Website
You can embed your booking page directly into your own website using a ready-made iFrame snippet.
In Univents, your booking page works as a standalone public page. But you can also embed it directly into your existing website, for example on a subpage for catering, events, or tastings. Univents generates the iFrame code you need ready to use, so you don't have to write anything yourself.
What You Need First
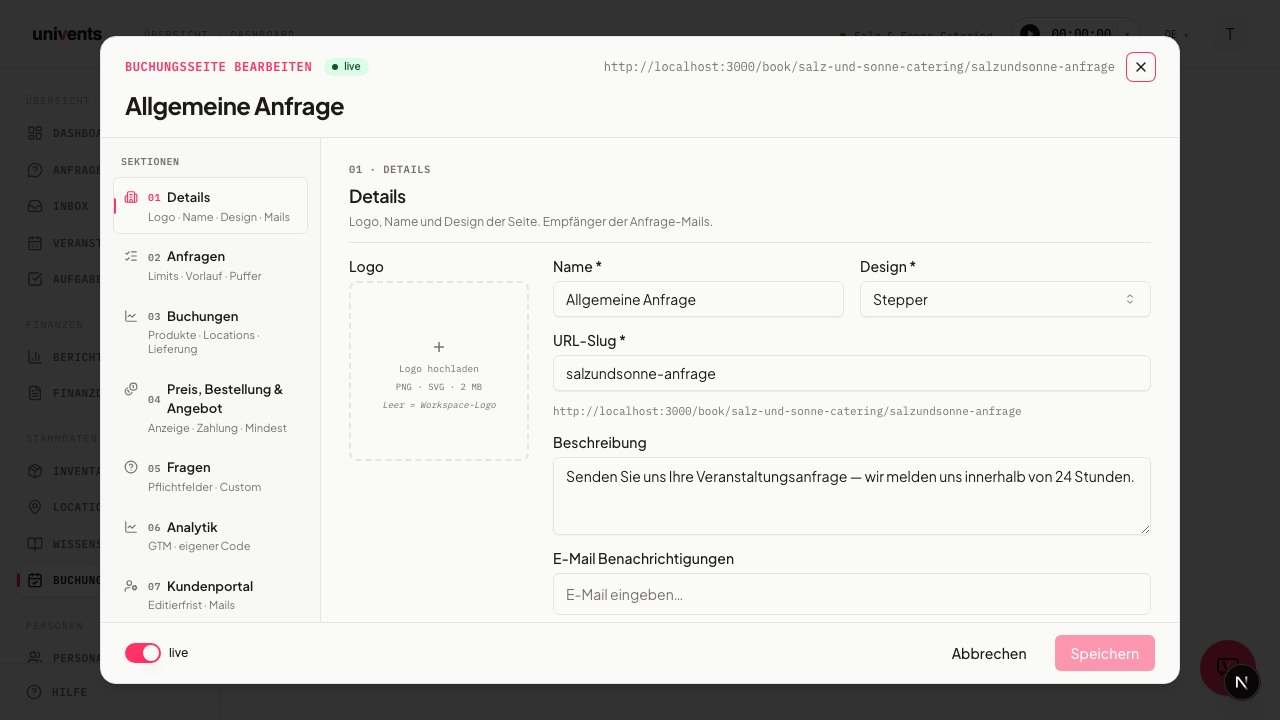
Before you can embed it, you need a finished booking page. If you don't have one yet, create it first. Open your booking pages overview and click New Booking Page in the top right. There you give it a name, pick a design (Webshop, Inquiry, or Stepper), choose the bookable products and locations, and decide which questions your customers should answer.
For the embedded page to be visible to your customers, it has to be active. You can tell from the status badge next to the name in the overview: live means published, draft means not yet visible. Click the badge to switch between the two states. A page in draft mode won't show up in the iFrame.
Get the Embed Code
You'll find the embed code right in the booking pages overview. Each page has a row of action icons along the right edge.
- Open your booking pages overview.
- Find the row for the booking page you want.
- Click the code icon on the right with the tooltip Copy embed snippet.
- Univents copies the ready-made iFrame code to your clipboard and confirms with the message Embed code copied.
The copied code looks roughly like this:
<iframe
  src="https://buchen.univents.app/embed/your-workspace/your-page"
  width="100%"
  style="border:none;min-height:700px"
  loading="lazy"
></iframe>
If you only need the direct link instead of the iFrame code, use the icon with the tooltip Copy booking link instead.
Add the Code to Your Website
Now you paste the copied code into the spot on your website where the booking page should appear.
- In your website builder, open the page where the booking should appear.
- Add an element for custom HTML code. In WordPress this block is often called "Custom HTML"; in other systems it's "Code", "Embed", or "HTML".
- Paste the copied iFrame code into this element.
- Save and publish the page.
The width is set to width="100%" in the code, so the booking page automatically adapts to your content area. The min-height:700px sets the minimum height. If your booking page is long and looks cut off at the bottom, increase this value.
For Developers: Auto-Sizing Instead of a Fixed Height
The fixed min-height:700px value in the embed code is only a minimum — if there isn't enough room, the booking page gets cut off at the bottom. If you (or your web developer) have access to your website's code, you can have the height grow automatically instead: the embedded page sends a message to the parent window on its own whenever its size changes.
A small script on your website can catch that message and resize the iFrame live:
<iframe
  id="univents-booking-iframe"
  src="https://buchen.univents.app/embed/your-workspace/your-page"
  width="100%"
  style="border:none;min-height:700px"
  loading="lazy"
></iframe>

<script>
  window.addEventListener('message', function (event) {
    if (event.data && event.data.type === 'univents-embed-resize') {
      var iframe = document.getElementById('univents-booking-iframe');
      if (iframe) iframe.style.height = event.data.height + 'px';
    }
  });
</script>
Without this script, everything still works as before — you'll just need to increase the fixed min-height value by hand when needed (see the FAQ below).
Cookie Notice Inside the Embedded Area
The embedded booking page shows its own cookie consent banner ("Cookie Settings") on first visit, with the options Accept all and Decline plus a link to the privacy policy. This banner is part of the booking page itself, appears inside the iFrame, and can't be turned off — it makes sure that visitors who only ever see your booking page embedded can still give or decline consent in a GDPR-compliant way, independent of your own website's cookie banner.
Test and Check
Before you hand the embedded page to customers, take a moment to check the result.
- Open the page on your website where you added the code.
- Check that the booking page displays in full without being cut off.
- If you want to preview the behavior in Univents beforehand, click the icon with the tooltip Open live preview in the overview to see the page in a new tab.
- Run a test inquiry as a trial so you can be sure the booking comes through to you cleanly.
If you then want to change something about the content, design, or questions, click Configure in the booking page's row. Changes automatically appear in the already-embedded version too, so you don't have to copy the iFrame code again.
Frequently Asked Questions
Do I have to copy the code again after every change? No. The iFrame always shows the current state of your booking page. Content changes made via Configure are immediately visible in the embedded version too.
The page is cut off at the bottom — what should I do? Increase the value at min-height:700px in the pasted code, for example to 1000px. That gives the booking page more room. If you have access to your website's code, you can have the height grow automatically instead — see the "For Developers" section above.
Nothing shows up in the iFrame for my customers. Check whether the booking page has the status live. If it's set to draft, it won't be displayed publicly. Click the status badge to activate it.
Where do I find these instructions again? In the overview, each page has a book icon with the tooltip Open embed guide that takes you straight here.