

Creating and Using Schedule Plan Templates
After reading this, you'll know how to create schedule plan templates, apply one manually to an event's run of show, and how they can automatically create open shifts for your team through a product.
A schedule plan template — listed under Run of Show in the Templates hub — is a reusable list of agenda items with relative timing, for example setup, guest reception, or breakdown. It saves you from retyping a recurring run of show every time, and it can automate a product in your inventory so that booking it automatically creates shifts for your team.
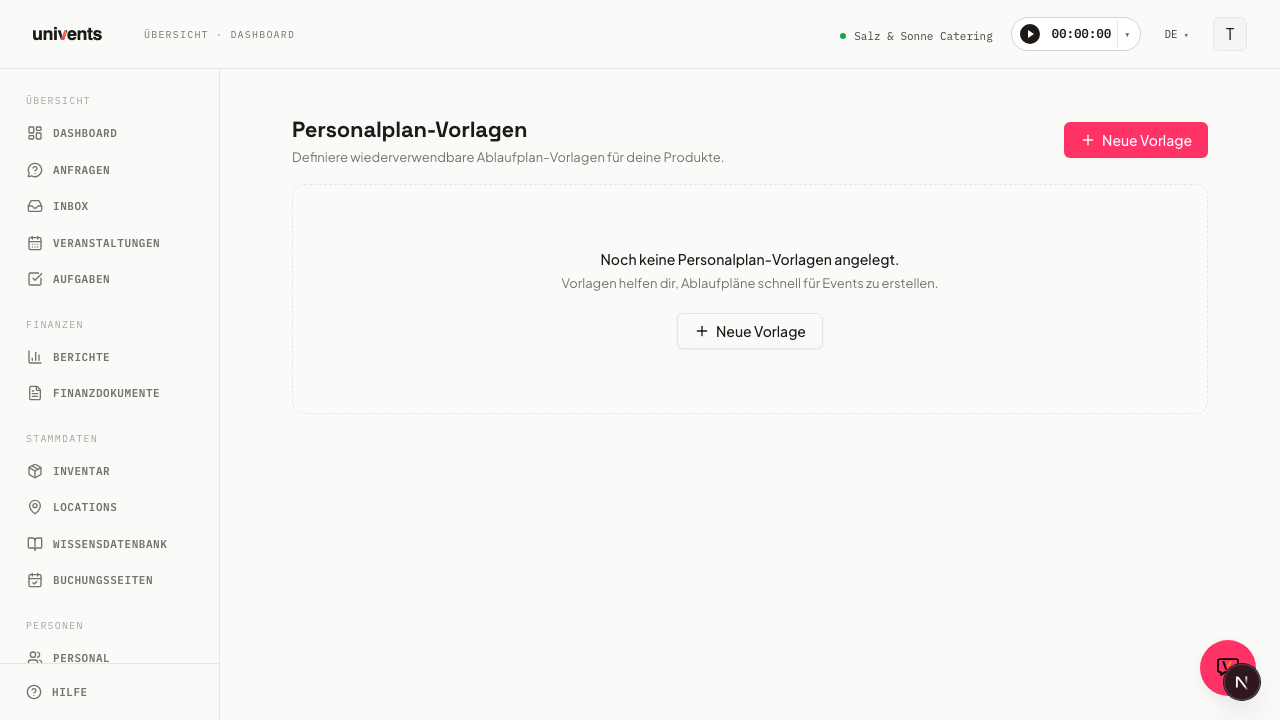
Creating a template
- Open Settings > Templates.
- Click New Template in the top right.
- In the Event building blocks group, choose Run of Show.
- In the Create schedule template dialog, enter a Name, and optionally a Description, Color, Address, and Address note.
- Add agenda items now (next section), or save the empty template right away with Save template.
Adding agenda items
- In the Schedule items section, click Add item.
- Fill in the dialog:
Title — e.g. "Set up seating"
Start Time / End Time — first pick the anchor:
- Event Start or Event End — the point sits a distance away from the event. Enter a value, a unit (Minutes / Hours / Days) and a direction (before / after).
- Fixed time — the point always happens at that time, no matter when the event starts. Enter the time and pick the day (Event day, +1 day … +6 days). This is the right anchor for anything tied to the clock: lunch at 12:00, kitchen start at 06:00.
Fixed and relative points can sit side by side in the same template.
Description — optional details
Internal responsible / External responsible — optionally record a person with access to management or a CRM contact; this is informational only for anyone reading the template (see note below)
Address / Address note — optional; otherwise the item inherits the template's address
- Click Apply.
- Repeat for every remaining item. Use the pencil and trash icons next to an item to edit or remove it.
- Finish with Save template.
Applying a template to an event manually
From an event's Schedule tab, you can apply any saved template directly as a new run-of-show plan — the time offsets are automatically converted to the event's actual date. See the Creating & Sharing Run-of-Show Plans article for details.
Linking a template to a product: automatically creating shifts
The real automation value comes from linking a template to a product in your inventory:
- Open the product in Inventory and switch to the Back office section in the editor.
- In the Shift Automation subsection, enable the toggle "Automatically create shifts when the event belonging to this product is accepted as an order".
- In the Schedule templates field, select the template you want to use.
- Optional: enable "Use event duration as shift duration" so every created shift spans the whole event instead of the duration stored on the template.
Once a customer books this product and the event moves from inquiry to confirmed order, Univents automatically creates one shift per agenda item in the template in the event's Shifts tab — grouped under an automatically created job named "[Product name] (Auto)". Each shift's start and end time are calculated from the event's date range plus the offset stored on the template item.
Important: these shifts are created open and unstaffed. Even if you set "Internal responsible" on an agenda item, Univents does not automatically assign staff from it. You still assign people to the shifts manually afterwards, either in the Shifts tab or the Disposition Board — see Creating and Pricing Shifts & Jobs and Disposition Board for Staff Planning. Learn more about product automation in Creating & configuring products.
Frequently asked questions
I turned on the automation, but no shifts are being created — why? Usually the product is missing a selected template — Univents shows a warning in the editor when that happens. It's also possible shifts were already created for this booking line: the automation only creates shifts once per booking line item.
Does the template automatically assign staff to the new shifts? No. The template only creates the shift slots — title, time, and the auto-job grouping. You decide afterwards who takes each shift.
Where do I manage all my schedule plan templates centrally? Under Settings > Templates, filtered by Run of Show. There you see every template with its item count.
What's the difference to a job template? A job template saves a complete job, including fully priced shifts, from an existing event and inserts it 1:1 into another event. A schedule plan template, on the other hand, only holds timing — no pricing — and is used either to seed an event's run of show or as the trigger for product automation.