Documents & Drive in an Event
After reading this article you'll be able to create, upload, share, and save all document types as templates from the Documents tab of any event.
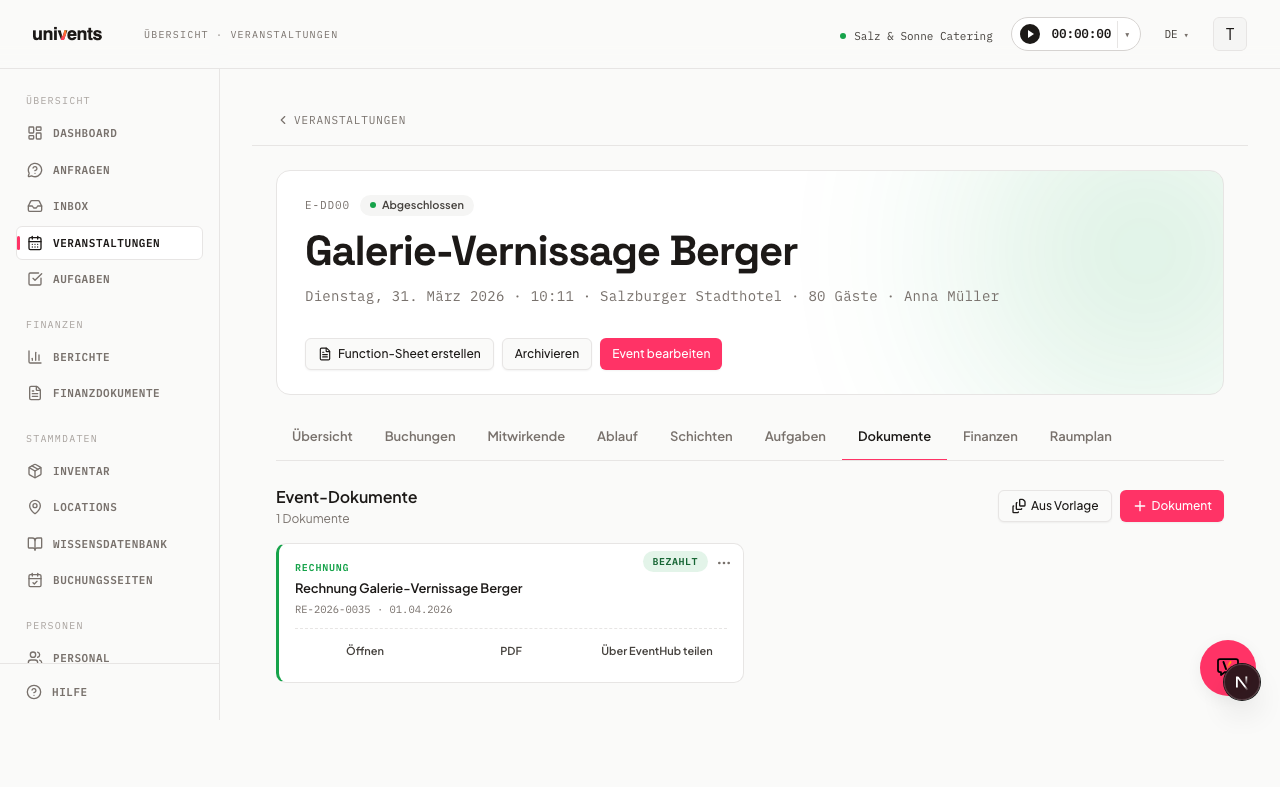
The Documents tab of an event keeps all your paperwork in one place: quotes, invoices, contracts, delivery notes, whiteboards, function sheets, rich-text documents, and uploaded files — displayed in a card grid under the heading Event Documents.
The document grid at a glance
Each card shows the type, title, short reference, and date, along with a coloured left border that identifies the document type at a glance:
- Blue: Quote
- Coral: Contract
- Green: Invoice
- Stone grey: Delivery Note
- Purple: Whiteboard
- Yellow: Function Sheet
- Neutral: Document or Upload
When more than one document type is present, a filter bar appears with type buttons (All, Quote, Invoice, etc.) that let you narrow the view to a single type. The filter bar is only shown when at least two different types exist.
Creating a new document
Click the + Document button in the top-right corner to open a dropdown listing all available types:
- Select the type you need (e.g. Quote, Invoice, Contract, Delivery Note, Whiteboard, Function Sheet, Document, or Upload).
- The new document is created immediately and opens in the appropriate editor.
- For Upload, a dialog appears where you enter a title and select your file.
If a booking already exists for the event, quotes, invoices, and delivery notes are pre-filled with the booked line items automatically.
Creating from a template
Use the From Template button to reuse saved templates:
- Click From Template and choose the document type (Quote, Invoice, Delivery Note, Whiteboard, Document, or Contract).
- A list of saved templates for that type is displayed.
- Click the template you want — the document is created and opened immediately.
To save an existing document as a template, open the three-dot menu on its card and select Save as Template (available for quotes, invoices, delivery notes, whiteboards, and rich-text documents).
Actions on document cards
Each card shows direct action buttons along the bottom edge and a three-dot menu in the top-right corner. The available actions depend on the document type.
Finance documents (Quote, Invoice, Delivery Note)
| Action | Description |
|---|---|
| Open | Open the document in the editor |
| Open the PDF in a new tab (if available) | |
| Share via EventHub | Copy the portal link to the clipboard |
| Save as Template | Save the document as a template for future events |
| Create New Version | Create a new quote based on the current version (quotes only) |
| Archive | Mark the quote as void (quotes in Draft or Sent status only) |
| Delete | Remove a quote or delivery note that is still in Draft status |
| Share | Invite contacts or team members as Viewer or Editor |
Uploads
| Action | Description |
|---|---|
| Edit | Change the upload title |
| Download | Download the file |
| Share | Invite contacts or team members |
| Delete | Remove the upload |
Contracts and Function Sheets
| Action | Description |
|---|---|
| Open | Open the document in the editor |
| Open the PDF (if available) | |
| Share | Invite contacts or team members |
| Delete | Remove the document |
Rich-text documents
| Action | Description |
|---|---|
| Share | Invite contacts or team members |
| Save as Template | Save the document as a template |
| Delete | Remove the document |
Whiteboards
Whiteboards are ideal for floor plans, seating charts, or run-of-show diagrams. You can create multiple whiteboards per event. The three-dot menu on a whiteboard card offers the following actions:
| Action | Description |
|---|---|
| Open | Open the whiteboard in the canvas editor |
| Duplicate | Create a copy of the whiteboard within the same event |
| Save as Template | Save the current whiteboard state to the template library |
| Export as PNG | Download the whiteboard as a PNG image |
| Share | Invite contacts or team members as Viewer or Editor |
| Delete | Remove the whiteboard |
Function Sheets
Function sheets consolidate all information needed to run an event: contributors, shifts, run-of-show timelines, and bookings. When you create a function sheet, a configuration dialog opens automatically so you can choose which sections to display. A completed function sheet can be exported as a PDF and shared with your team via a share link.
Tip: If a quote is already linked to the event, you don't have to assemble a function sheet by hand — the Plan from quote button on the event's detail page can generate a first draft using AI. More on this in Creating an Event via the Wizard.
Uploading files (Uploads tab)
The Uploads tab shows all uploaded files for an event in a dedicated view. Drag files into the upload zone or click Upload File to open a file-picker dialog and select one or more files. All common formats are accepted — PDFs, images, Office documents, ZIP archives, and more.
Frequently asked questions
Can I upload multiple files at once? Yes. In the Uploads tab you can drag several files into the upload zone at the same time, or select multiple files at once using Upload File.
How do I share a document with a client? For finance documents (Quote, Invoice, Delivery Note), the Share via EventHub action in the card's action row copies the portal link directly to your clipboard. For all other document types, Share in the three-dot menu opens a dialog where you can invite contacts or team members as Viewer or Editor.
What happens when I delete a finance document? A dialog asks how to handle the associated booking line items: Delete document only (line items remain in the booking), Detach document and line items (line items are kept as standalone bookings), or Delete everything (the document, line items, and all booking references are removed). This option is only available for quotes and delivery notes that are still in Draft status.