

Create an event with the creation wizard
You can create a new event in three steps using the wizard, setting the name, customer, date, multiple locations, floor plan, seating, tags, and color along the way.
In Univents you create new events through a guided wizard that walks you through all the key details in three steps. That way the name, customer, date, and appearance are set cleanly right when you create the event, instead of being filled in later.
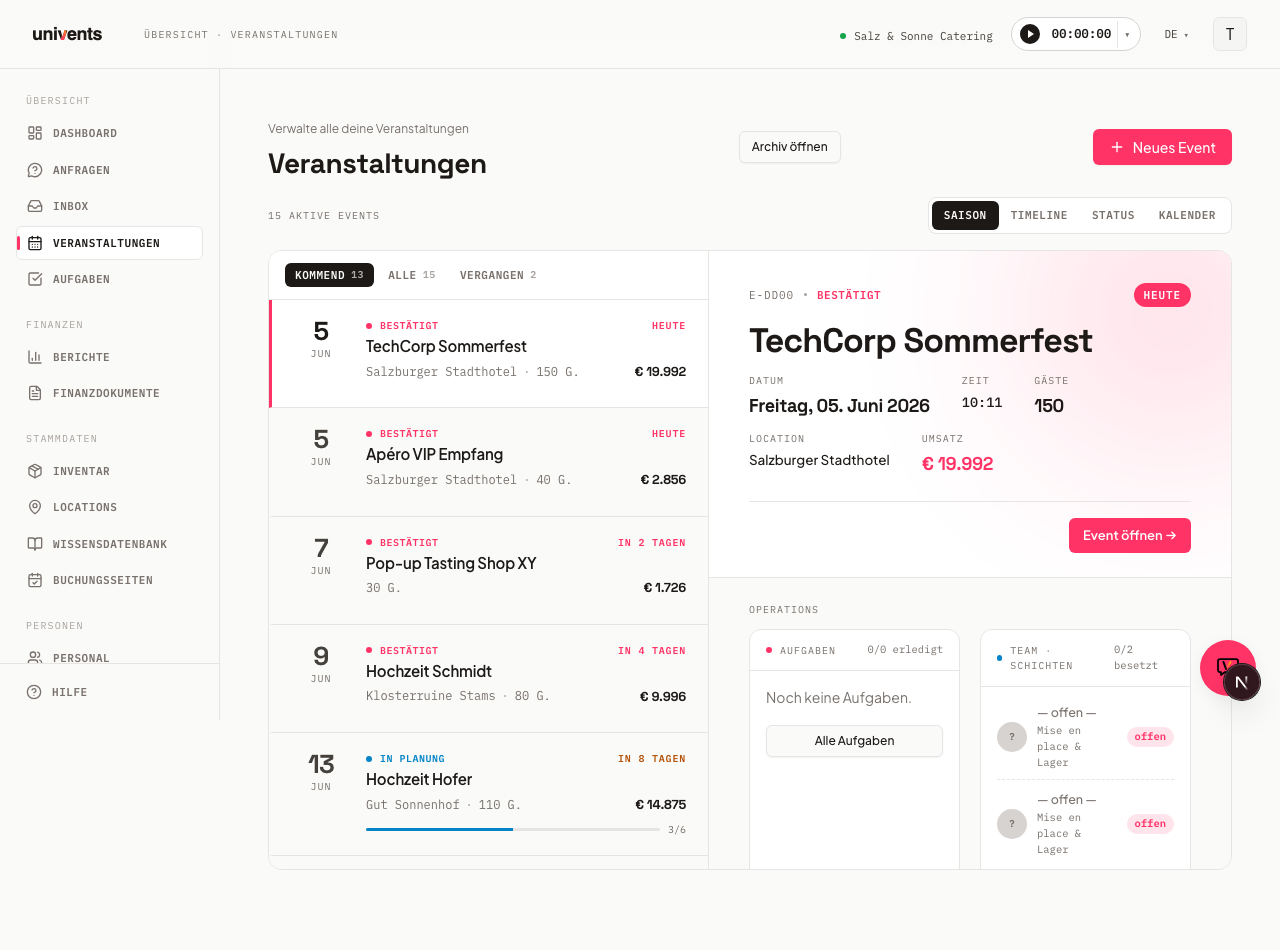
In the video you create a new event — from the basic details through date and venue to how it appears in the calendar.
You’ll find the individual steps written out below as well.
Opening the wizard
You reach the wizard directly from the event list. Here's how to start:
- In the sidebar, open the section with your events.
- In the top right, click the New event button.
- The Event dialog opens with the step bar Basics, Date & location, and Appearance.
If you already know the day the event takes place, there's a faster route: switch the event list to the Calendar view and double-click the day you want. The same dialog opens with the date already filled in. Univents suggests 6:00 pm as the start and an end six hours later — you can change both in the Date & location step. A single click on an event that is already in the calendar still opens it as usual.
At the very top of the first step, under Choose template, you decide how to start. With Start blank you begin completely from scratch, or you click one of your saved templates to pull in its details right away. If you don't have any templates yet, a note points out that you can save one from a finished event later. Via Manage templates you jump into the template settings.
Step 1: Basics
In the first step you set the core data. Required fields are marked with an asterisk and must be filled in before Next lets you move on to the following step.
- Under Event name enter a descriptive title, for example the occasion and the customer.
- In the Customer field, search for an existing contact. If you type a name that doesn't exist yet, you can create it directly as a new contact via the entry at the bottom of the list.
- Under Guests enter the expected number of people.
- Optionally, add a Description with the occasion, highlights, and the customer's wishes.
At the end of the step, under Repeats, you decide whether it's a Single date or a Date series. For a single event, leave Single date active.
Step 2: Date & location
Here you set when and where the event takes place. Under Main date you enter the Start and End. As soon as you set a start time, Univents fills the End field automatically with start plus six hours, as long as it's still empty. You can adjust the end time afterwards at any point.
Under Venue, in the Location field, you pick one of your saved locations. If areas are stored for it, you can be more specific in the Room / Area field; otherwise it stays on Entire venue. If the chosen location has floor plans, you also pick one of them under Floor plan — drawn plans as well as floor plans that only have a name and seats (such as “Gala · 450”); each plan shows its seat count. The field stays locked until a location is chosen. If your guest count is above the seats of the chosen floor plan, a notice appears right below it before you save, for example “130 guests > floor plan “Bankett” (120).” It blocks nothing — you can still save. The chosen floor plan also shows in the event header (e.g. “Hall · Rooftop”).
In the Seating (note for kitchen/service) field you enter in free text how the room is set up, for example “Standing reception with high tables” (up to 200 characters). While you type, the field suggests values you have entered before in your workspace. The note appears later on the Function Sheet and never triggers a notice.
If the event takes place across several rooms, add them under Additional locations: type an extra location and add it, and each selected location appears as its own chip that you can remove individually. The event header then shows all locations, e.g. “Room A + Room B”. If you set a custom display name for the venue, it takes precedence.
If the event takes place off-site, you enter the address in the Address · if external field. If it takes place at the customer’s, tick Event takes place at the customer instead – Univents copies the address from the contact, also when you edit an existing event later. That address prints as the venue on quotes, invoices and delivery notes. If you chose Date series in the first step, the recurrence section additionally appears here.
Step 3: Appearance
The last step is about visual classification. This step has no required fields, so you can create the event right away.
- In the Tags field, type a keyword and confirm with Enter. Each tag appears as a chip and can be removed again.
- Under Event color you pick a color from the palette. It helps you spot the event quickly in calendars and lists.
- Under Language you set which language the booking page, invoices, contracts, and customer emails use for this event. With Account default you adopt your account's default language.
To finish, click Create event. Univents saves the event and opens the detail view of the new event right away. If you chose Date series instead, you create the whole series via Create series.
Importing an event from an offer with AI
If you already have an offer as a PDF — one you wrote yourself, or one a customer sent you — you don't have to type the details into the wizard by hand. On the event list, next to New event in the top right, you'll find the Import offer button.
- Click Import offer.
- In the Upload offer PDF dialog, use Choose PDF to select your file (PDF, up to 10 MB).
- Univents reads the offer ("Reading offer …").
- From the extracted data, Univents creates a draft: an event, a contact, and a quote. You review this proposal before it's adopted.
Before you confirm, the Inventory section shows what the import would add to your inventory — for example "3 products and 1 category would be created in your inventory". Click Show names to expand the list of affected products and categories. Positions that already exist in your inventory under exactly that name are linked to the existing product and don't appear here; if everything is already in your inventory, the section says so.
The Create new products and categories in the inventory checkbox is on by default. Untick it if you don't want your inventory to fill up with every differently named tender position: the import then creates no new products and doesn't change any existing product. Positions without a matching product are added to the quote draft as free-text lines (without a product link) with the quantity, price, and tax rate from the PDF; positions with an exact match are linked to the product as usual. Every free-text line still gets a category: if an existing category in your inventory matches the detected position, it's used; otherwise the line goes into the catch-all category "Importiert" (created once if needed) — without a category, the quote couldn't be sent later. You can assign a product to those free-text lines in the quote at any time later.
You can also check boxes under Also create? to have Univents prepare Shifts, Schedule, and Tasks as AI drafts for this event right away. A note points out that this uses AI credits, billed by actual usage. For what this costs and how to top up your credits, see AI credits & usage.
If Univents can't detect an offer in the file, the dialog tells you right away; use Try again to upload a different file. If the same PDF was already imported, a note lets you know.
Planning an event from a linked quote with AI
If an event already has a quote, you can have the AI suggest further building blocks for it. Open the event's detail page and click Plan from quote. If no quote is linked to the event yet, the button stays greyed out with the note No quote linked to this event.
In the dialog you check the boxes for what you want Univents to generate as a draft:
| Building block | On by default |
|---|---|
| Task list | Yes |
| Function sheet | Yes |
| Schedule | No |
| Floor plan | No |
| Additional documents | No |
| Shifts and crew | No |
Click Generate to start the run. For each selected building block, Univents shows live progress (Queued, Generating, Done, Failed, or Skipped). All results are drafts and never go live automatically — you review each result yourself before it's put to use. This path also uses AI credits billed by actual usage, see AI credits & usage.
You'll find each building block afterwards in its own area: Tasks, Schedule, Function sheet, and Documents.
Frequently asked questions
Do I have to use a template? No. With Start blank you create a completely empty event. Templates just save you time because they bring along recurring details.
Can I create a new customer without leaving the wizard? Yes. In the Customer field, type the name and use the create entry at the bottom of the results list. The new contact is adopted immediately.
What happens if I don't set the end? As soon as a Start is set and End stays empty, Univents automatically adds start plus six hours. You can override this value before creating the event.
How do I move between the steps? Use Next to go forward and Back to go one step back. Via Cancel or the close button in the top right you discard your entries. Required fields are checked when you switch steps.
My event takes place every week in the same form – copy, event template or finance document template? If only small things such as dishes and guest count change, Duplicate is the shortest route: open the event, Duplicate, pick the new date, Create copy. The copy already carries the bookings, quote, run sheet, shifts, tasks and contributors – you only adjust guest count and positions. The two template types each cover only one part: an event template brings tasks, run sheet, team, contracts and budget envelopes when you create the event, but no quote. A finance document template (created from a quote via Save as template) delivers only the quote – you create the event and then pick the template in the Documents tab via From template → Quote. An event series in the wizard creates many dates at once, but as empty shells without a quote. If more than dishes and guest count changes from week to week, the combination of event template plus finance document template is the more flexible route.
Copying an event
Duplicate on the event detail page creates a new event based on an existing one. The dialog offers two choices:
- What is copied along: bookings, quotes, run sheet, shifts, tasks, contributors, budget envelopes, delivery notes.
- What is carried over from the original: customer, venue including its address, and the billing recipient on the copied documents. Clear a checkbox and the field stays empty on the copy — useful when the same setup runs for a different customer or at a different venue.
Invoices and credit notes are never copied; copied documents are always drafts without a number. Of a quote you reworked via Create new version, only the current version is copied – the cancelled predecessor stays with the original.
With the Bookings checkbox, the copy contains every item from the Bookings tab – with quantities, prices, notes and package components. Like the copy itself, they are still unconfirmed. If an item has its own time slot or delivery day, it moves with the new date; the time of day stays the same. If you copy quotes or delivery notes as well, their line items point to the copied bookings instead of creating them a second time. If an item can't be matched in rare cases, you see a notice after copying – then check the affected document. Ticket sales as well as cancelled and expired orders of the original are not carried over.
Daily times of multi-day events
If an event lasts several days, its overview shows the Daily times card. There you enter a separate Start time and End time for each day, for example set-up from 8 am on the first day and 10 am to 6 pm on the other days. The start and end of the event follow day 1 and the last day.
How documents use them: When every day has its own times, items billed Per Hour and Per Guest/Hour on quotes, invoices, delivery notes, in the Bookings tab and for room rental use the sum of these times. Two days from 10 am to 6 pm make 16 hours, not the 32 hours from the first start to the last end. While days are still missing, the card shows a note and the hours run over the whole period from start to end until then. If a booking has its own time slot, that slot still applies.
After saving: When you change a daily time and this affects the prices of your draft quotes or invoices, the same Apply changes? dialog opens as after a date change. Under Recalculate prices you choose the drafts that should take over the new hours. If the change on day 1 or on the last day moves the start or end of the event, the dialog also offers to move shifts, the run sheet, tasks and the service period along. Issued documents stay unchanged.
When moving, editing and copying: When you move the event, the daily times move along, with the same clock times, even across a daylight saving change. If you only change the start or end time on the same day, the row of the first or last day follows, as long as it started or ended exactly there before. Shorten the event and the extra days are dropped. Extend it or move the start to a different day, and the new days have no times until you enter them — until then, documents are calculated as before over the whole period from start to end, and the card shows a note. If the event becomes a single day, the daily times are removed. When you copy an event, the daily times come along with the new date.
Which status does a new event get?
A newly created event always lands in the first status column of your workspace. You decide which one that is: under Settings → Statuses, drag the columns into the order that matches your workflow. Whatever sits at the top is the starting status. By default the order is Planning, Confirmed, Completed, Cancelled – so a new event starts in Planning and only counts as confirmed once you move it to Confirmed or a quote is accepted.
For example, if every event at your company starts as a quote, move Quote to the first position. From then on every new event starts there — whether you create it through the wizard or as a copy.
Exception: the event of an inquiry you have not accepted yet. As long as an inquiry is awaiting your decision, its event sits in the Planning column — no matter which column is at the top of your workspace. That way accepting it is visible on the board: the card then moves to the Confirmed column. If your workspace has no Planning column, such an event starts in the first column as well.
Two kinds of columns are skipped, even when they sit at the very top:
- Cancelled and Completed — a new event should not be created as finished or cancelled.
- The invoice columns (Invoice due, Paid, Overdue) — they belong to invoice tracking and never appear on the Kanban board at all.
In those cases the next eligible column applies.