Create an event with the creation wizard
You can create a new event in three steps using the wizard, setting the name, customer, date, location, tags, and color along the way.
In Univents you create new events through a guided wizard that walks you through all the key details in three steps. That way the name, customer, date, and appearance are set cleanly right when you create the event, instead of being filled in later.
Opening the wizard
You reach the wizard directly from the event list. Here's how to start:
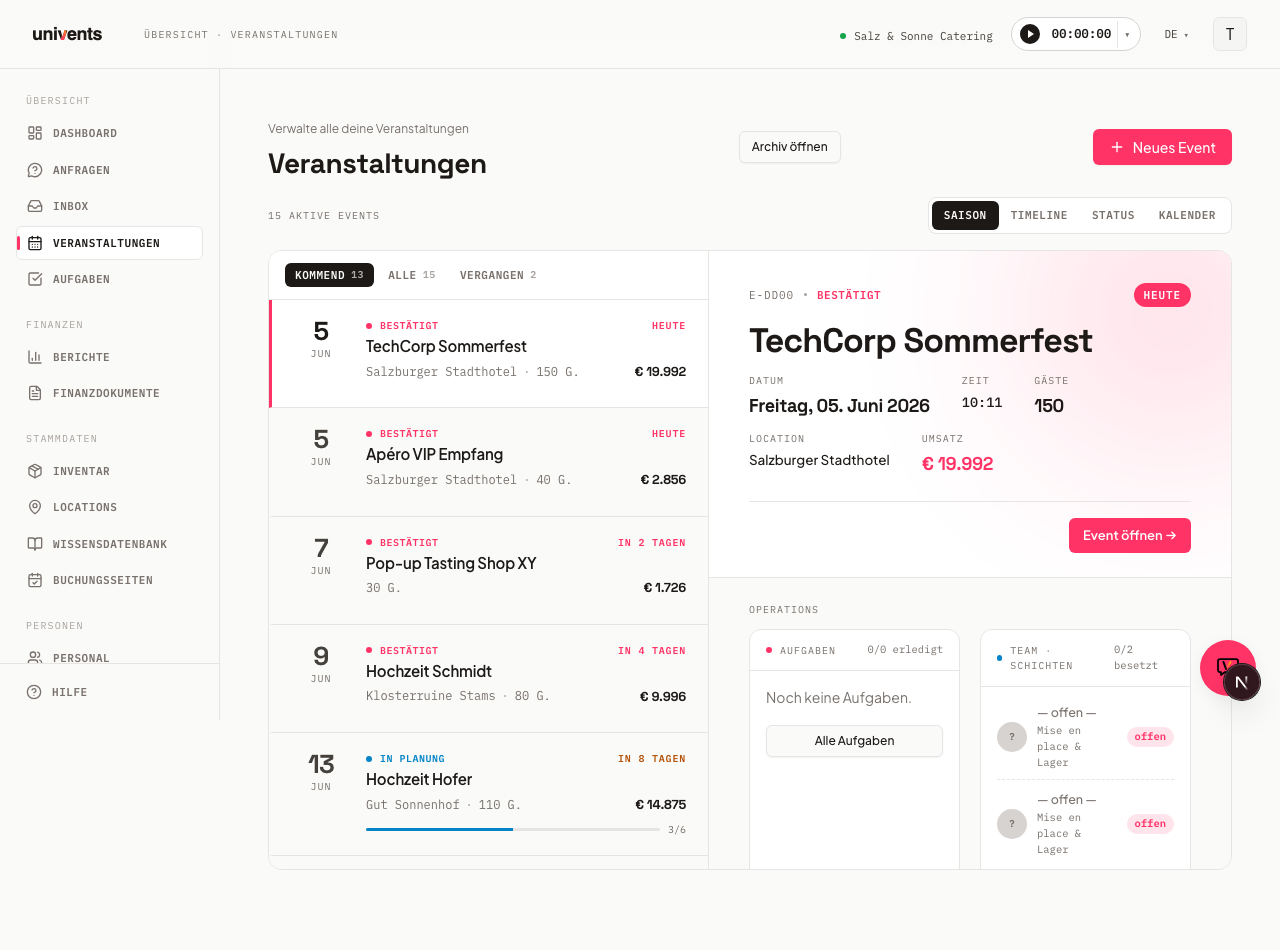
- In the sidebar, open the section with your events.
- In the top right, click the New event button.
- The Event dialog opens with the step bar Basics, Date & location, and Appearance.
At the very top of the first step, under Choose template, you decide how to start. With Start blank you begin completely from scratch, or you click one of your saved templates to pull in its details right away. If you don't have any templates yet, a note points out that you can save one from a finished event later. Via Manage templates you jump into the template settings.
Step 1: Basics
In the first step you set the core data. Required fields are marked with an asterisk and must be filled in before Next lets you move on to the following step.
- Under Event name enter a descriptive title, for example the occasion and the customer.
- In the Customer field, search for an existing contact. If you type a name that doesn't exist yet, you can create it directly as a new contact via the entry at the bottom of the list.
- Under Guests enter the expected number of people.
- Optionally, add a Description with the occasion, highlights, and the customer's wishes.
At the end of the step, under Repeats, you decide whether it's a Single date or a Date series. For a single event, leave Single date active.
Step 2: Date & location
Here you set when and where the event takes place. Under Main date you enter the Start and End. As soon as you set a start time, Univents fills the End field automatically with start plus six hours, as long as it's still empty. You can adjust the end time afterwards at any point.
Under Venue, in the Location field, you pick one of your saved locations. If areas are stored for it, you can be more specific in the Room / Area field; otherwise it stays on Entire venue. If the event takes place off-site, you enter the address in the Address · if external field. Under Setup from you record when setup begins. If you chose Date series in the first step, the recurrence section additionally appears here.
Step 3: Appearance
The last step is about visual classification. This step has no required fields, so you can create the event right away.
- In the Tags field, type a keyword and confirm with Enter. Each tag appears as a chip and can be removed again.
- Under Event color you pick a color from the palette. It helps you spot the event quickly in calendars and lists.
- Under Language you set which language the booking page, invoices, contracts, and customer emails use for this event. With Account default you adopt your account's default language.
To finish, click Create event. Univents saves the event and opens the detail view of the new event right away. If you chose Date series instead, you create the whole series via Create series.
Importing an event from an offer with AI
If you already have an offer as a PDF — one you wrote yourself, or one a customer sent you — you don't have to type the details into the wizard by hand. On the event list, next to New event in the top right, you'll find the Import offer button.
- Click Import offer.
- In the Upload offer PDF dialog, use Choose PDF to select your file (PDF, up to 10 MB).
- Univents reads the offer ("Reading offer …").
- From the extracted data, Univents creates a draft: an event, a contact, and a quote. You review this proposal before it's adopted.
You can also check boxes under Also create? to have Univents prepare Shifts, Schedule, and Tasks as AI drafts for this event right away. A note points out that this uses AI credits, billed by actual usage. For what this costs and how to top up your credits, see AI credits & usage.
If Univents can't detect an offer in the file, the dialog tells you right away; use Try again to upload a different file. If the same PDF was already imported, a note lets you know.
Planning an event from a linked quote with AI
If an event already has a quote, you can have the AI suggest further building blocks for it. Open the event's detail page and click Plan from quote. If no quote is linked to the event yet, the button stays greyed out with the note No quote linked to this event.
In the dialog you check the boxes for what you want Univents to generate as a draft:
| Building block | On by default |
|---|---|
| Task list | Yes |
| Function sheet | Yes |
| Schedule | No |
| Floor plan | No |
| Additional documents | No |
| Shifts and crew | No |
Click Generate to start the run. For each selected building block, Univents shows live progress (Queued, Generating, Done, Failed, or Skipped). All results are drafts and never go live automatically — you review each result yourself before it's put to use. This path also uses AI credits billed by actual usage, see AI credits & usage.
You'll find each building block afterwards in its own area: Tasks, Schedule, Function sheet, and Documents.
Frequently asked questions
Do I have to use a template? No. With Start blank you create a completely empty event. Templates just save you time because they bring along recurring details.
Can I create a new customer without leaving the wizard? Yes. In the Customer field, type the name and use the create entry at the bottom of the results list. The new contact is adopted immediately.
What happens if I don't set the end? As soon as a Start is set and End stays empty, Univents automatically adds start plus six hours. You can override this value before creating the event.
How do I move between the steps? Use Next to go forward and Back to go one step back. Via Cancel or the close button in the top right you discard your entries. Required fields are checked when you switch steps.