

Create & Share Run-of-Show Plans
After reading this article you'll be able to create multiple run-of-show plans for an event, add schedule entries, save plans as templates, and share them with external contacts.
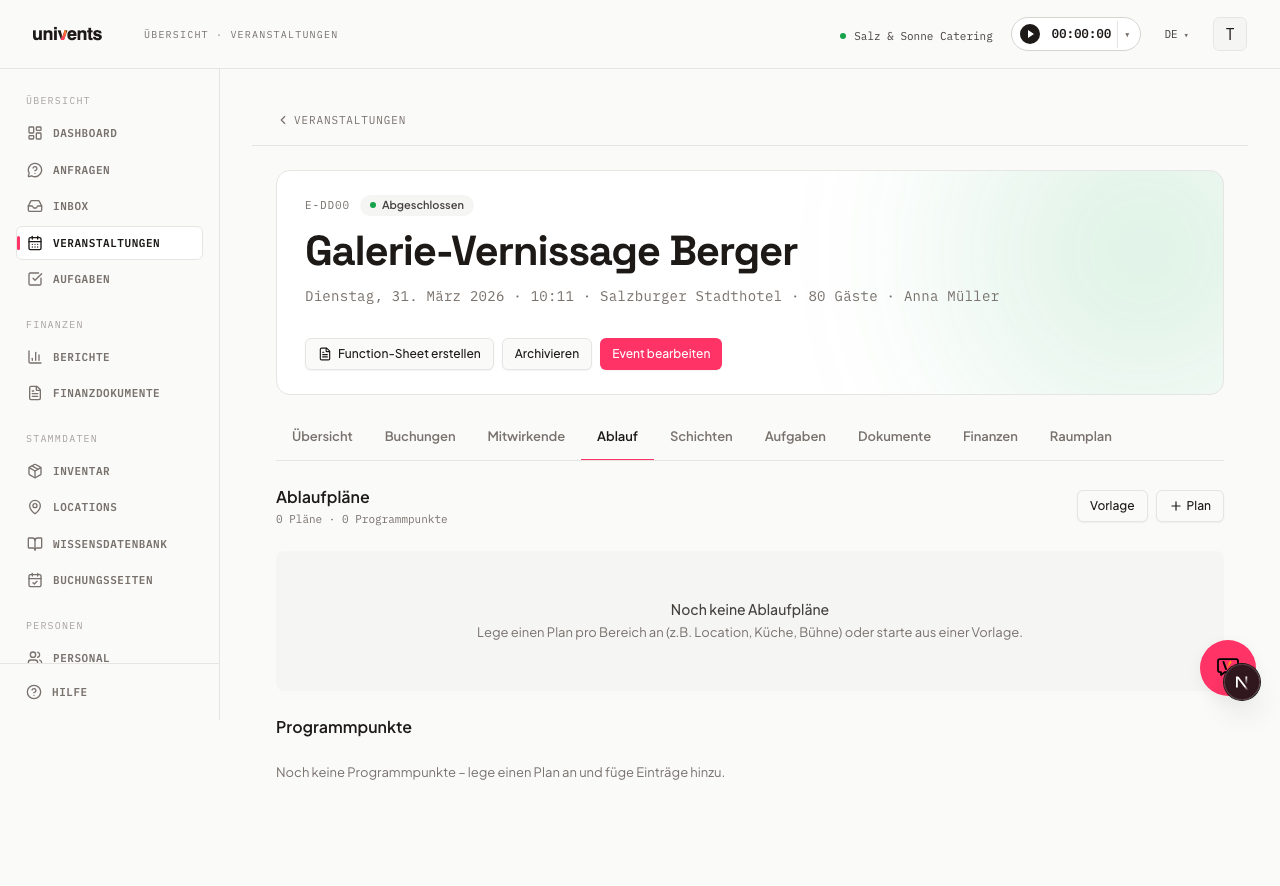
In the Schedule tab of an event you create one or more plans that structure the day's programme. Each plan has its own address and colour, which is especially useful for complex events with multiple areas (e.g. venue, kitchen, stage).
Tip: If a quote is already linked to the event, you don't have to start from scratch — the Plan from quote button on the event's detail page can also generate a first run-of-show draft using AI, which you then review yourself. More on this in Creating an Event via the Wizard.
The video shows how to create schedule items with times, rooms and people in charge, save the plan as a template and share it with partners and customers.
You’ll find the individual steps written out below as well.
Creating a run-of-show plan
- Open the desired event and click Schedule in the top navigation.
- Click Plan (with the plus icon) in the top right.
- Fill in the form:
- Name (e.g. "Venue Schedule")
- Description (optional, e.g. who is working from this plan)
- Color for visual distinction when multiple plans exist
- Address of the area (pre-filled from the event, can be overridden per plan)
- Address note for internal notes, e.g. "3rd floor, staff entrance"
- Shared with to pre-select recipients right away
- Click Create plan. You are taken directly to the detail page of the new plan.
To edit an existing plan, click the pencil icon in the top right of the plan card.
Adding schedule entries
- Click on a plan card to open its detail page.
- Click Add Entry (with the plus icon) to create a new schedule entry.
- Fill in the following fields:
- Title (e.g. "Setup", "Welcome", "Buffet")
- Start time and End time
- Description (optional, e.g. notes or schedule remarks)
- Room: the venue this item takes place in (optional)
- Address and Address note (leave blank to inherit the plan address)
- Internal responsible: select workspace members
- External responsible: assign CRM contacts
- Document: attach a PDF, Word, Excel, PowerPoint, image, or text file (max. 25 MB)
- Click Add.
A programme item with a room occupies that room
When a programme item carries a room, that room counts as occupied for the item's time window. If the item has only a start time — or if start and end are identical — the room counts as occupied at exactly that moment; the block does not spill into the following days. The block applies everywhere Univents checks availability: the venue picker for the chosen date, the check when a request is submitted, and your booking page calendar. This lets you plan a room hour by hour across the day without booking the whole event onto it.
Nothing is blocked in these cases:
- The event is cancelled.
- The schedule has been deleted.
- The item has no room — there is nothing to block.
If a room allows several parallel events, one event still counts once — even when it occupies the room through its date and a programme item at the same time.
The start time of the next entry is automatically set to the end time of the previous one. If a start time is entered and the end time is still empty, Univents automatically sets the end time to start time + 2 hours. The order of entries can be rearranged via drag-and-drop.
Switching views
On the schedule overview page all entries from all plans are listed together. Using the three icons in the top right next to "Programme" you can switch between three views:
- List (default): compact row view with time, title, and responsible person
- Timeline (Gantt icon): horizontal timeline display
- Calendar (calendar icon): calendar view by date and time
Your chosen view is saved for your device.
Sharing a run-of-show plan
Recipients receive a link to the portal where they can view the plan. An email with the link is sent automatically as soon as you save.
- Click Share — either on the plan card in the schedule overview (bottom right) or in the top right of the plan detail page header. Both routes open the same dialog. Alternatively, click the badge that reads either "Not shared" or "Shared with N person(s)". It appears in both places and opens the same dialog.
- In the Share schedule dialog, enter a name or email address under Add recipient.
- Select contacts or staff from the suggestion list. Selected entries are staged (the badge on the save button shows the count).
- Click Save and Notify to save and notify all recipients.
Already added recipients appear in the list below. Click the send icon next to a recipient to resend the notification to that person individually. Resend all re-notifies all recipients at once. The trash icon removes access.
Duplicating a schedule
Any existing run-of-show plan can be duplicated in just a few steps to, for example, create a simplified kitchen version or use it as a starting point for a similar event.
There are two places to copy from, and they look different:
- On the plan detail page, click the labelled Duplicate plan button in the top right.
- On the plan card in the schedule overview, it is the duplicate icon (two overlapping sheets) in the icon row at the top right of the card — no label.
After that, both routes behave the same:
- The plan is immediately copied and receives the name of the original with the addition (Copy) — e.g. "Kitchen schedule (Copy)".
- The copy is a complete, independent variant of all schedule entries and settings.
Important: Sharing permissions (links to external contacts) are not copied. This prevents accidentally sharing unfinished plans with others. You can edit the copy and then decide yourself who you want to share it with.
Using and saving templates
Templates let you transfer a proven run-of-show plan to new events. The times of the schedule entries are stored either as a distance from the event start or end, or as a fixed time — a fixed point then always happens at that time, no matter when the event starts.
Save a plan as a template:
- Click Save as template at the bottom left of the plan card.
- Give it a name and click Save template.
Apply a template to an event:
- Click Template in the top right.
- In the Apply template dialog you see all saved templates with their entry counts.
- Click Apply on the desired template. The plan is immediately added as a new plan on the event.
You manage templates workspace-wide under Settings > Run-of-Show templates, where you can rename or delete them.
Frequently asked questions
Why do my plans show the notice "not on the event date"? Because not a single schedule entry sits anywhere near the event date. This typically happens when an event was moved to another day and the run-of-show plan stayed on the old one. The notice shows both dates; you correct the times directly on the schedule entries. Set-up the day before, multi-day events and tear-down the day after do not trigger it.
Can I create multiple plans per event? Yes, as many as you like. This is useful when different areas (kitchen, stage, logistics) have their own schedules. Each plan has its own colour and address.
What happens if I leave the address blank on an entry? The address of the parent plan is inherited automatically. A hint showing the plan address appears in the form.
Do recipients see all plans for an event? No. Sharing is always plan-specific. You decide per plan who gets access.
How do I delete a plan? Click the trash icon in the top right of the plan card and confirm the dialog. All schedule entries belonging to the plan are deleted as well.