

Creating & configuring staff
After reading this article you'll be able to create staff members in Univents, maintain profile, contract, and staff-file data, set access to No access, Crew or Admin, and use templates to onboard new team members quickly.
The Staff section is where you manage your entire team: from initial creation through contract data, skills, and archiving. Access all functions via Staff in the left navigation.
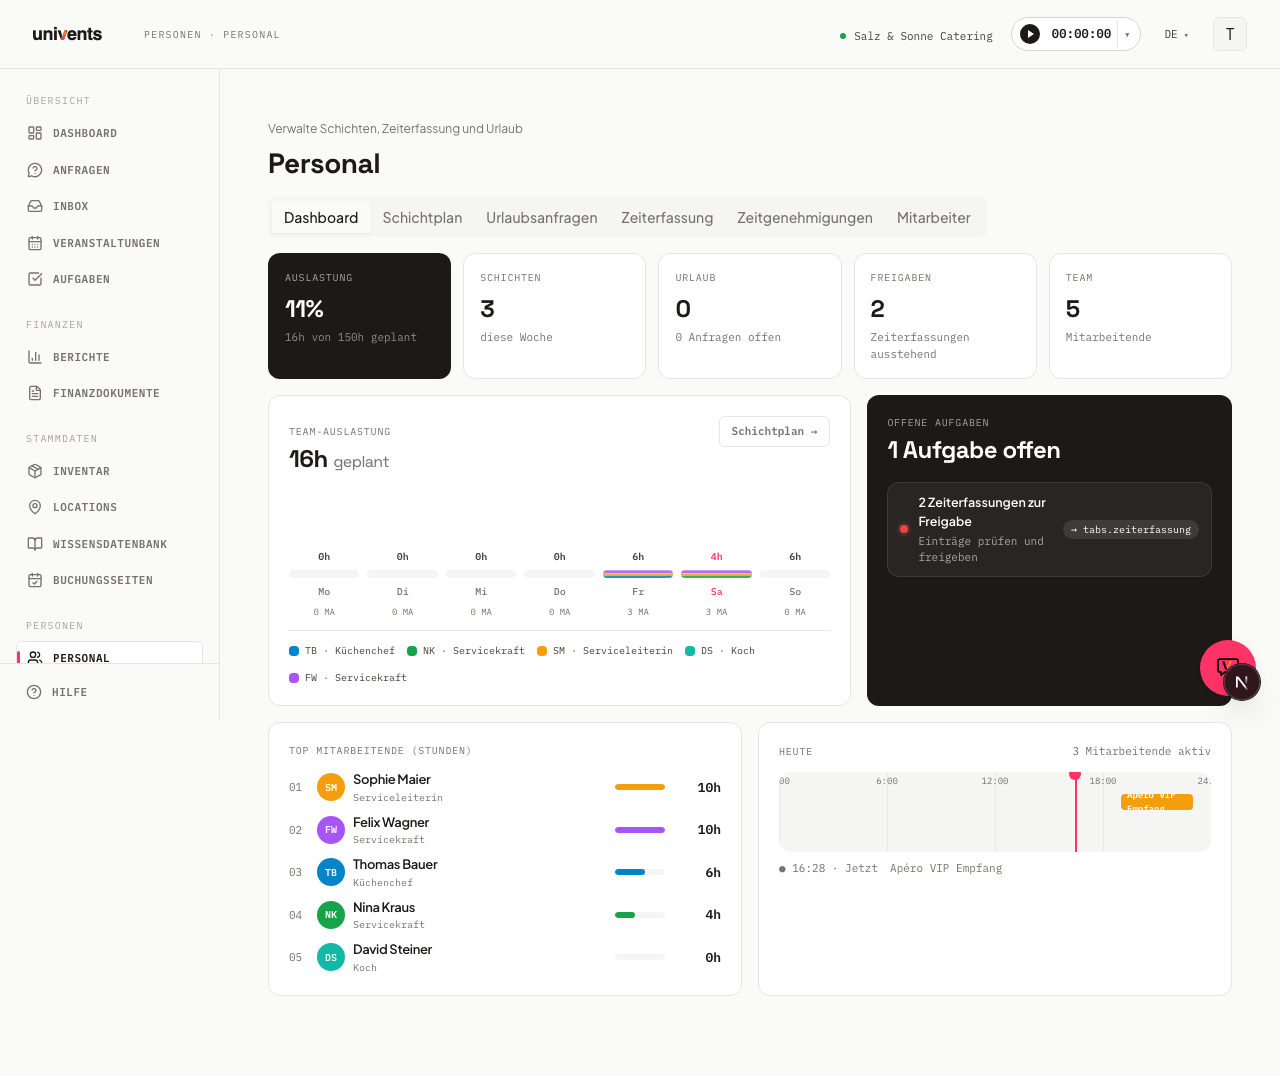
In the video you add a team member and fill in their personnel file — including the opening balance for the working-time account and access to the staff portal.
You’ll find the individual steps written out below as well.
Creating a staff member
- Open the Staff section in the navigation.
- Switch to the Members tab.
- Click Member (plus icon) in the top right.
- The form opens. The only required fields are First name and Last name — all other fields are optional.
- Fill in the fields you need (see details below).
- Click Create member.
Once created, the person appears as a card in the staff list and gets their own detail page.
Fields in the creation form
The form is divided into sections:
Person
- First name / Last name (required)
- Email — for communication and for every access level except "No access"
- Phone — landline or mobile number
Access
- Its own section right below the person, with three levels: No access, Crew and Admin. Details in "Setting access" below.
Role & Contract
- Position — free text, e.g. "Service staff day shift"
- h / week — contractually agreed weekly hours; the basis for the time balance
- Vacation days — annual leave entitlement; drives the leave overview on the detail page
- Payroll product — link a product from the payroll catalogue to automatically calculate supplements (public holidays, nights, weekends)
Skills
- Enter skills as tags (confirm each with Enter or a comma). Examples:
Service,Barkeeping,Setup. Skills are searchable and assist with shift planning.
Setting access
The Access section is where you decide, while creating someone, whether and how they can sign in. It is the same decision you can correct at any time later via Change access — and it exists in this one place only.
| Level | What the person gets | Admin seat |
|---|---|---|
| No access | No login. Appears in shifts, pay and kitchen lists. | no |
| Crew | Own login for the staff portal: own shifts, times, pay. | no |
| Admin | Access to the admin area, in full or limited by a role. | yes |
No access is preselected. Crew and Admin both need an email address — without one, both options are locked, with the hint "Portal or admin access needs an email address."
Picking Admin reveals two more lines: the Permissions picker (default Full access (no restriction)) and the Admin seats line with the current state — either 2 of 3 used, included in your plan or 3 of 3 used, next seat costs €79 per month. So the price is on screen before you click, and you confirm it explicitly when saving. If you cancel there, the person is created, but with No access and without an invitation. During your trial the line reads Free during your trial. When you activate, you'll see what your admins cost. instead — and there is no price prompt.
Crew is free and unlimited. Every person who works shifts can have their own portal login without anything changing on your invoice.
Above the level picker, for a transitional period, sits the line "Formerly: Manager, Helper, Temp" — the same three levels went by different names until this update. Manager is now Admin, Helper and Temp are now Crew.
Creating a payroll product
The Payroll product picker only offers products explicitly marked as payroll products.
Right in the staff record: open the Payroll product field and pick Create new payroll product — the entry is always at the top; if you type a name first, it is pre-filled. The dialog walks through two steps:
- Master data — display name (appears on invoices and quotes; use DE/EN to maintain the English version), internal name, description, hourly wage (required) and optionally the sale rate used to charge tracked time to customers.
- Surcharges & conditions — the same price conditions as on any product: fixed euro amount or percentage, free time windows (including across midnight, e.g. 10 pm–2 am and 2–6 am separately), weekdays and holidays. These rules apply to the wage (payroll export and staff report) — customer prices are unaffected.
The hourly wage is mandatory: it is what a payroll product is. Without it every tracked hour would be valued at 0 €, both in an event's actual costs and in the payroll export.
After creation the product is selected right away. Alternatively you can still create a payroll product via Inventory > Add Product:
- Go to Inventory > Add Product and pick the type Service.
- Give it a name, e.g. "Service staff" or "Kitchen assistant".
- In the Service Details section, switch on Use as payroll product.
- Enter the hourly wage as the cost price — the sale price of a payroll product is the customer rate and is never paid out as a wage.
- Configure surcharges (night, Sunday, public holidays) through the pricing conditions of the same product.
The product is then selectable in every staff profile. Several payroll products are common — for example one per role, each with its own hourly wage.
Using templates
Templates speed up onboarding when you're creating many staff members with the same contract terms.
- In the Members tab, click Templates (top right).
- The templates dialog opens. Click New template and enter the name, position, hours, leave days, and skills.
- Click Create template to save the template.
- When creating the next staff member, select your template from the Apply template dropdown at the top of the form. The form fills in automatically. Fields you have already filled in are not overwritten.
Templates do not set access. A template fills contract data and skills — the Access field stays on whatever you picked, and a template never sends an invitation. Templates are purely an onboarding aid and have no effect on staff members who have already been created.
Editing profile data later
- In the Members tab, open the person you want to edit (click their card).
- You arrive on the detail page. Click Edit in the top right.
- The edit form opens. In addition to the creation fields, Mobile, a full Address (with autocomplete), an Employee file section, and a dedicated Emergency contact section are available here (details on both in the next section).
- Save with Save changes.
The detail page also shows a KPI strip with Contract hours, Hourly rate, Vacation left, and Hours logged, as well as the tabs Overview, Shifts, Time tracking, Vacation, and Documents. On the Overview tab you see tax-related data (Social security number, Wage tax number) and the emergency contact under the Tax & Emergency section, plus a separate Employee file card below it with the extra fields maintained in the edit view.
Maintaining the employee file
These fields only become available after the initial creation, in the edit form's Employee file section:
| Field | Values / notes |
|---|---|
| Employment type | Full-time, Part-time, Mini-job, Working student, Apprentice, Intern, Casual worker, Seasonal worker, Freelance |
| Status | Active, On leave, Maternity leave, Long-term sick, Left the company, Archived |
| Date of birth | Date |
| Nationality | Free text |
| Clothing size | XS to 6XL |
| Driving licence classes | Multi-select tags |
| Languages | Language + proficiency level (A1–C2 or native speaker), multiple entries possible |
| Public holidays by region | Same as workspace, Country-wide, or a single region (e.g. Bavaria, Vienna, New York) |
Employment type describes the contract and has nothing to do with access: a casual worker on paper can be Crew, can be Admin, or can have no access at all.
Public holidays by region is what you need when someone works in a different state or country than your business: pick Same as workspace (the default), a whole country, or a single region. The choice determines which public holidays count for that person — in the target hours of the time balance, in holiday surcharges, in the payroll export and in the staff report. Without an entry of your own, holiday surcharges use the holiday region of the payroll product (if one is set there), otherwise the region from Settings → Public holidays. Only give someone their own holiday region if they really need one; the detail view therefore only shows the row when it differs from the workspace.
Right below it, but as its own Emergency contact section in the edit form, you enter Name, Phone, and Relationship for the emergency contact.
As another separate Bank details section, you record the person's IBAN and, optionally, their BIC. Both fields are optional; on save the IBAN is automatically upper-cased and stripped of spaces and lightly checked for its format. Bank details are treated like wage data: the section, and both values in the detail view (under Tax & Emergency), only appear if you are allowed to see wages — depending on your workspace's wage visibility that means everyone with staff access, admins only, or only the owner plus the people with pay visibility. Without that permission you also cannot set the bank details. Changes to them are recorded in the activity log.
The Maternity leave status sits alongside "Active" and "Archived" as one of six possible values on the same status field — it doesn't replace anything else, and it's findable via the status filter on the staff list.
Setting up access to the staff portal
There are two ways into the Employee Portal, and they differ in whether the person has an account of their own.
Crew: their own login
- Pick the level Crew in the Access section while creating them — or later in the staff file via Change access.
- Univents sends an invitation. The person sets up their login and from then on signs in with their email address and a 6-digit code.
- They land in their workspace's portal automatically, never in the admin area, and see shifts, hours, pay, leave, files and messages there.
To invite several people at once, use the Invite to portal button under Staff › Access — up to 50 per run.
Portal link without sign-in
- Open the person's staff file — this requires an Email address on file.
- In the Portal link card, click Copy portal link (no sign-in), or Send portal link (no sign-in) to have Univents send it.
- Clicking the link opens the portal directly — no account, but also no access to pay, leave, files and messages (see Employee Portal & Shifts).
The portal link is the quick route for short-notice jobs; Crew is the right route for everyone who works regularly and should be able to look up their own pay. Both are free.
Admin is not portal access: an admin sees the admin area /home, not the portal view.
Access: Owner, Admin & Crew
What a person can do is decided solely by their access to the workspace. That is why it lives in exactly one place — and is read-only on contacts and in templates.
| What the list shows | What the person can do |
|---|---|
| Owner | The workspace belongs to them; they can do everything, including creating roles. |
| Admin · Full access | Full access to the admin area, unrestricted by a role. Takes up an admin seat. |
| Admin · ‹Role name› | Access to the admin area, limited to the modules of their role. Takes up an admin seat. |
| Crew · Portal | Own login, the staff portal only — shifts, hours, pay, leave. No admin seat. |
| Admin · Invited | The invitation to the admin area is on its way. |
| Crew · Invited | The invitation to the staff portal is on its way. |
| No access · Invitation expired | The invitation has lapsed. Invite again sits next to it. |
| No access | No login — a pure staff record. Still appears in shifts, pay and kitchen lists. |
| Access incomplete | Access and staff record do not match. The owner puts this right via Repair access. |
| Access unavailable | Access could not be loaded just now. Reload the page — nothing is broken, and there is nothing to do. |
The same label appears in the staff list, in the staff file and in the Access tab — three views, one statement. You can filter the staff list by it under All access levels, with the values Admin, Crew and No access.
Changing access: open the staff file. The Access section shows the label and, next to it, the Change access button. It opens a dialog with the three levels and exactly one confirmation button: Make admin, Make crew, Remove access or Invite to portal. Nothing happens before you confirm; if the step uses an extra admin seat, the dialog names the monthly amount. The same steps are available from the three-dot menu under Staff › Access.
Admin access is granted by the workspace owner alone, as are revoking it, removing access and Repair access. An admin does not see these menu items; running the action by another route returns "No permission". The reason: whoever may grant admin access could obtain, through a second person, every right their own role denies them. Invite to portal is exempt — any admin who may send invitations and create staff records can do it, because a portal login grants no rights in management and costs nothing.
More on this in Access, Roles & Permissions.
Uploading documents
In the Documents tab of the detail page you store files such as an employment contract or a sick note for the person.
- Click Upload document.
- In the Document type field, choose one of four categories: Employment contract, Sick note, Certificate, or Other.
- In the Files field, select one or more files — each file can be up to 10 MB.
- Click Upload.
Uploaded documents can be retrieved again via Download. As long as no documents have been added yet, the tab shows the message "No documents uploaded yet."
Archiving a staff member
When someone leaves the company, archive them — all historical data (shifts, time tracking, leave) is retained.
- Open the person's detail page and click Edit.
- Scroll to the bottom of the edit dialog. Archive sits in the bottom left of the button bar, opposite Cancel and Save changes.
- Confirm the prompt ("Archive member?").
Archived staff members no longer appear in the active list and are not offered during shift planning.
People with a login cannot be archived directly. While a login is linked to the staff record, Univents refuses to archive it — otherwise the person would be gone from the list and still able to sign in.
The way through is Change access and the level No access (button Remove access), either in the staff file or from the three-dot menu under Staff › Access. That is what breaks the link; afterwards the record archives as usual. Make crew is not enough: the person keeps their login and stays linked as crew with portal access — they only lose the admin area. Archiving stays blocked.
Remove access applies to all records of that person, including archived duplicates: afterwards none of them is attached to the login any more.
The same block applies when deleting a contact under Contacts: if the contact belongs to a login, it can only be deleted once that access has been removed.
Note the difference to the Status field in the employee file: setting the status to "Archived" or "Left the company" only records information — it does not remove the person from the active list. Only the Archive button does that.
Frequently asked questions
Where do I set whether someone is Admin or Crew? In the Access section while creating them, and afterwards in the staff file via Change access or from the three-dot menu under Staff › Access. There is deliberately no picker for it on the contact or in a template any more — otherwise the same access would be written in several places and the two would drift apart.
What happened to Manager and Helper? Manager became Admin, Helper and Temp became Crew. Nothing changes about the rights, only about the words — and Crew now also comes with its own free login for the staff portal, which you can grant straight from Staff.
Does putting someone on Crew cost anything? No. Crew is unlimited and included in your plan. Only the owner, admins and open admin invitations count against the admin seats; the number sits in the Admin seats KPI tile above the staff list.
What happens if I don't assign a Payroll product? Time tracking and shift planning still work. However, supplements and payroll exports cannot be calculated automatically in that case.
How many skills can one person have? Up to 20 skills per staff member. Skills can be added or removed at any time in the edit form.
Where do I see who has a login? Under Staff, in the Access tab: it lists everyone with a login plus all open and all expired invitations — and that is where you change access, via the three-dot menu. The same actions remain on the People & Access page (univents.app/home/<your-workspace>/settings/members), which is not in any menu. Staff members in Univents are contacts who do not necessarily have a login.
Is the employment type "Casual worker" the same as Crew? No. Employment type describes the contract (full-time, mini-job, casual worker, seasonal worker …), Access describes what the person signs in with. A casual worker can be Crew, can get a portal link without sign-in, and in rare cases can even be an Admin.
The list says "Access incomplete" — what should I do? It means the person's access and their staff record do not match. The workspace owner will find Repair access in the three-dot menu under Staff › Access, which puts it right in one step. Nothing changes about the person's rights beyond what their access already grants.